


.%20I%20added%20a%20hay%20bag%20and%20hay%20roof%20to%20mine%20as%20it%20allows%20the%20hay%20to%20be%20stacked%20up%20over%20their%20heads%20and%20encourages%20stretching%20and%20standing%20and%20generally%20reduces%20boredom.)
We've kept guinea pigs for nearly 4 years now. They live in our living room, in a habitat that I built myself and over the last few years, I've learned quite a bit about guinea pig behaviour. Our cage has slowly evolved as their needs have changed and I've observed their little idiosyncrasies.

Apart from adding more hiding places, the main thing that has changed is that their hay corner has got bigger and bigger. I've learned that plenty of hay makes for a contented piggy. Hay should make up 80 to 90% of a guinea pig's diet and they spend most of their active time eating. They don't just eat hay, they hide in it, drag it around the cage, pull it out for fun, and lie on it, so why not enrich their environment by surrounding them with as much hay as is practical?

Can guinea pigs be toilet trained? This is something I was intrigued by before we got guinea pigs. Some people say that you really can't litter train a guinea pig, while others say that it is definitely possible. The conclusion I've come to is that you can't really teach a guinea pig to go to the toilet where you want it to, but you can observe their behaviour and set up their cage so that they are more likely to go to the toilet in a preferred area. Guinea pigs would rather go to the toilet in a shady corner, but they also go to the toilet where they eat. It is my observation that they are much more likely to use a litter tray if it's in a corner, topped with hay, has some kind of roof, is surrounded by hay and they can all comfortably fit on it at the same time, with room to move about.

I prefer maintaining a hay tray and hay bag, rather than just putting a pile of hay down for them because it greatly reduces the amount of cleaning I need to do. The hay tray acts as a litter tray, which I do a surface clean out of every other day and so I only need to do a full cage clean out once a week. Guinea pigs often go to the toilet where they eat, so the advantage of a hay bag is that the hay is off the floor and so it doesn't need to be replaced as regularly. I also find that a full hay bag gives them a bit of a work out too and reduces boredom.

They like to burrow into it to find a tasty piece of straw, but they also enjoy standing up on their hind legs and stretching up to reach the newest hay at the top. We have one little guinea pig that actually jumps up and down on her hind legs to try to reach higher, which is just adorable!

If I neglect to fill it up for several days, they might climb inside it, which is highly amusing, but it does mean that I’ll probably have to change all of the hay, as chances are, they would go to the toilet in there too!
When we first got guinea pigs, like many people, we wondered how long it was OK to leave them alone? It's a tricky question to find an answer to, but after asking around and observing their behaviour we came to the conclusion that as long as they had plenty of clean hay, an extra water bottle and extra pellets, leaving them alone for one night away is preferable to the stress and upheaval of travelling in a carrier and being left in a strange place for just one night. Giving them a large hay bag that is always full of clean hay is one way that we could be certain that they had enough hay to keep them happy while we are away for a short time. (Disclaimer - this and everything else in this post is just my personal opinion as a guinea pig owner. It is in no way to be taken as expert advice.)
The Hay Tray
I've said that this is my ultimate guinea pig hay corner. In truth, I'd love to give them an even bigger hay tray area, but unfortunately, the one they have now is really the largest tray my cage set-up can accommodate. It's actually a 53.5cm x 34.5cm Zak Gallery serving tray. I altered it with Gorilla Tape, Fablon and slide binders to seal up the holes, change the outer colour and to stop the guinea pigs from chewing the Fablon.

If I had room to accommodate a bigger cage I would probably go for something more like this 60cm x 60cm tray for their hay -

Maybe one day...
Making a Hay Bag
To make and attach the corner hay bag I used -
- Fleece fabric
- Scissors
- Thread
- Paper pattern
- Hay bag hole template
- Pins
- Sewing machine
- Sticky Roller
- Garden twine
- Bulldog clips
- Wool needle
I think this is the 4th hay-bag I've made and each time it's got a little bigger, but fundamentally, the height of the bag and the size of the holes have remained the same.
I haven't exactly provided a pattern template, as the hay bag is specific to my cage, but hopefully seeing the plan of my hay bag pattern will help you design your own -

The corner that I want my hay bag in is 36cm along the back to the corner, and then 60cm from the back corner, extending forward along the right side. I added a 2cm seam allowance on either side, which gave me a nice round 100cm total width for my hay bag pattern piece.

I used a very large fleece blanket to make the hay bag as fleece doesn’t fray much when it’s cut and it’s quite stretchy. If I’m cutting a single piece of fabric, to save time I like to tape my pattern onto the fabric rather than pinning it.

The size of the hay bag holes is pretty important. I designed them to be big enough for an adult guinea pig to get their whole body in and out of (for safety reasons) but not so big that all the hay would fall out. Having said that, this kind of hay bag is really best suited to longer, softer hay as they do like to burrow their little heads into it. A stiffer, stalkier hay could lead to a hay poke injury. Personally, I use a good quality ings or meadow hay in the hay bag, making sure that I pull out any woodier stems.
Here’s a link to my hay bag hole template to print out.

The first time I made a hay bag that fitted around a corner, I realised that I needed a much bigger gap between the two holes on either side of the right angle crease. When the bag is filled with hay, the two holes would otherwise be hidden within the fold.

Once I’d decided on my hole spacing, I marked out the corners of the hay bag holes with pins...

... and then cut two diagonal lines across the middle of the hole area between the pin markings.

From the front, I folded the 4 cut triangles over to the back to create rectangular holes...

... and then moved the pins to the back of the fabric ready for sewing.

With a zig-zag stitch, sew all the way around the hole...

...then cut off the excess fabric close to the stitching.
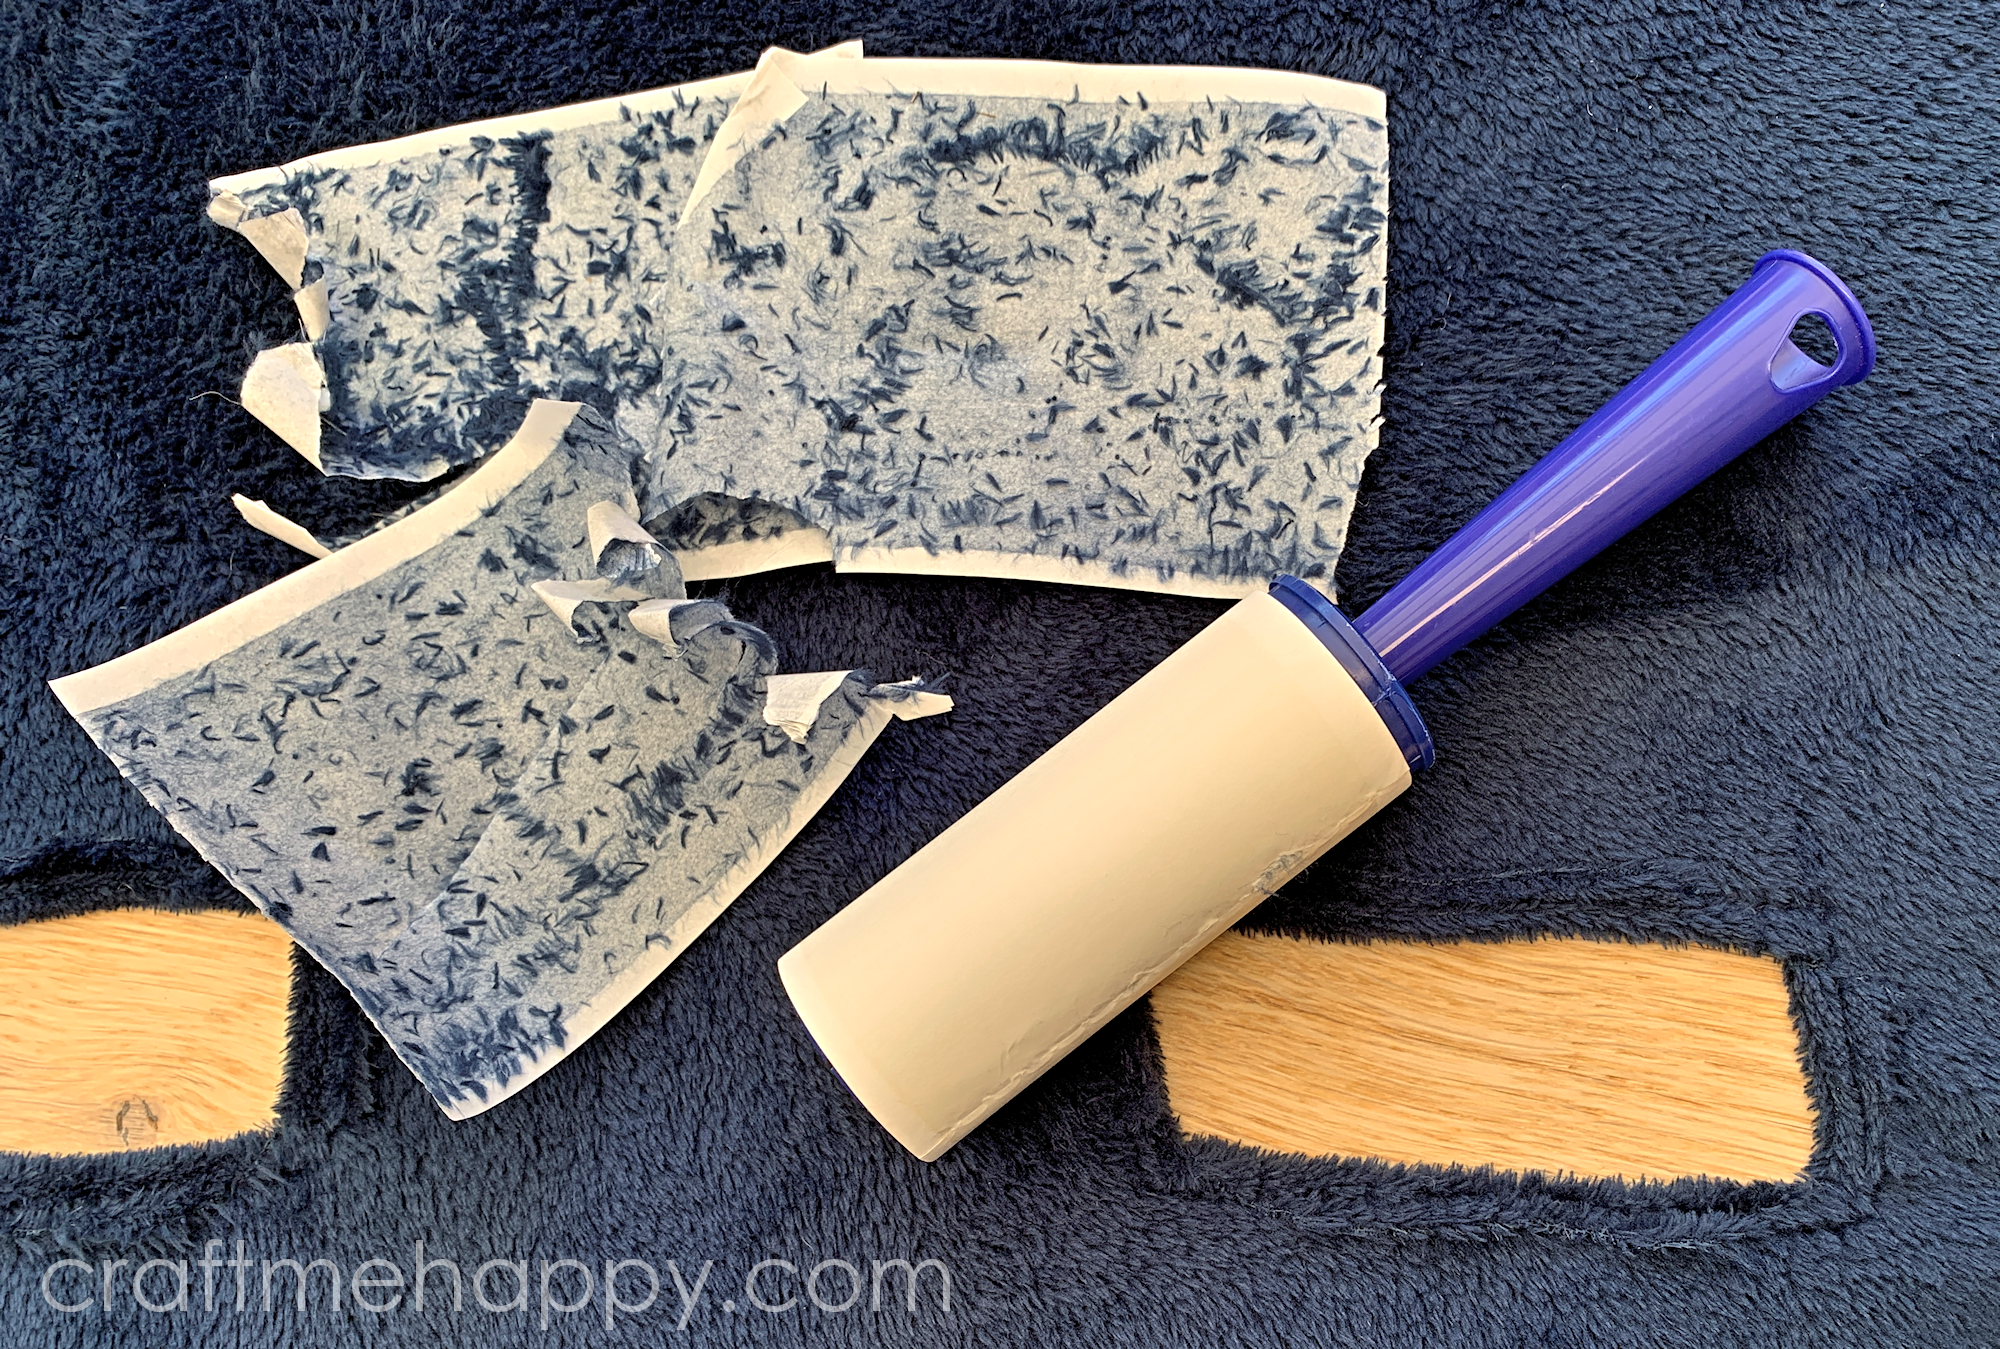
Thankfully, fleece fabric doesn’t fray much, but as I was using a particularly fluffy fleece fabric, I used a sticky roller to remove any excess fibres that had come loose.

The hay bag holes are finished now, so it’s time to fold it over (right sides together). I stitched a 2cm seam up either side of the folded hay bag...

... and then turned over and sewed a single fold, 3cm hem all the way around the top of the hay bag.

Turn the bag the right way round. To prevent the hay bag from falling open too much, I stitched down the centre of the fabric between the two holes on either side of the corner crease.

To clean it up and remove any tiny flecks of fleece fibres, I went over the whole thing again with a sticky roller.

I attached my hay bag using a combination of bulldog clips and garden twine threaded through the bag with a large wool needle. As a guide to how high to place the hay bag, there is just enough clearance under the bag for an adult guinea pig to crawl underneath.
Making a Hay Corner Roof
I think I’d had my first hay bag for a week before I learned that I really needed some kind of roof to act as a barrier.

We had one tiny baby guinea pig that would leap from the hay tray, straight into the top of the bag! She was an excellent shot, but every time I saw her do it, my heart was in my mouth, worrying that she might go over the side. After putting the roof on, she started jumping even higher - using the fabric roof as a backboard to bounce off into the bag. As she got bigger, she stopped doing, it but I realised that the roof served a couple of other purposes too.
Guinea pigs don’t like feeling exposed and prefer corners and shady areas to go to the toilet. Adding a roof over the hay tray was one extra method of encouraging them to use it as a litter tray. I also like to fill the hay bag until it is overflowing to enrich their habitat and encourage them to stretch and stand on their back legs. I can pack the hay in so much against the fabric roof that the guinea pigs almost get a roof made of hay.
As a guide to making your own, here is how I designed the pattern for my hay roof.

I wanted the short side of my hay roof to measure 37cm and the long side to measure 64cm (including 2cm seam allowances). I added these numbers together to give me a circle diameter of 101cm that my pattern is based on. The two sides meet at a 110-degree angle as this makes the roof arch upwards when it's attached, rather than sit flat to the cage.
To make and attach the Hay Roof I used -
- Paper Pattern
- Fabric - curtain or upholstery fabrics work best
- Scissors
- Pins
- Metal Boning
- Bulldog Clips

If you want to make a roof to the same dimensions as mine, you can download the 8 pattern pieces that I used here -
I cut all of my pattern pieces out and taped them together.

To make my fabric hay roof, I decided to use some upholstery fabric that I had left over from making resin-coated fabric beads with Hillary's Blinds fabric. I folded my fabric in half, right sides together and pinned on the pattern. As it's based on a circle, there isn't a right or wrong way to position the pattern.

After cutting out the two pattern pieces, I sewed almost all the way around, leaving a small opening at the short side before the curve to turn it the right way round. I snipped the corners off and cut into the curve, up to the stitching at regular intervals.

I turned my hay roof the right way round and then ironed all of the seams and the curves so that they sit as flat as possible.

I topstitched about 1.5cm along the curved edge to create a channel for the boning...

... and then hand-stitched the larger section of the opening closed, leaving the channel open for inserting the boning.

I inserted the metal boning into the curved channel and cut it to size. I should say here that I tried plastic boning first, but it just didn't have the rigidity to hold the roof up. Metal boning is much more robust but unfortunately much more difficult to cut. (I find cutting a notch with wire cutters and then folding the boning forward and back on itself until the metal weakens and breaks is my preferred method for cutting metal boning.)

Once the metal boning was fully inside the channel, I hand stitched the opening securely closed.

All that was left to do was attach the hay roof to the sides of the cage using bulldog clips.

I made this little time-lapse film to show how my hay corner encourages my guinea pigs to stretch and move about more. because of the hay bag.
As you can see, hiding vegetables in the top of the hay bag makes for a great boredom-busting, enrichment activity for my guinea pigs.
Enjoy and happy crafting!

If you enjoyed this post, you might like my other guinea pig craft posts -
 |
| Building a corner C and C Guinea Pig cage |
 |
| DIY washable waterproof guinea pig bedding |
This blog post contains Amazon affiliate links to similar products that I purchased myself to make the guinea pig hay bag and roof. If you click through and purchase anything from Amazon, I may receive a very small percentage of the purchase price.
----------
Please be sweet and share the love. Leave a comment, subscribe to my YouTube channel, like my Facebook page for regular updates or follow me on Pinterest, Bloglovin' or Instagram
1 comment:
oh! they must be happiest guinea pigs with such a facilities :) great ideas!
Post a Comment