


Earlier last year I was asked by Maurice Ribble to take some photos of the Electric Eel Wheel Nano and the Electric Eel Wheel 6 that could be used in advertisements for the Dreaming Robots product range.
My brief was simply to add yarn and fibre to the Nano, using bright, summery colours that would complement the blue of the Electric Eel Wheel Nano 2.

I looked through my stash of fibres and chose these colours from World of Wool. I knew that I wanted to use blue and orange as they are complementary colours and the orange would look amazing next to the blue Nano. However, if they blended together I would get brown - which is definitely not the look I was aiming for. I needed to add a third colour to bridge the gap between blue and orange that would happily blend into these two colours while still keeping the colours clean and fresh.
As the blues that I had chosen were very cyan, adding magenta was the obvious choice for a third colour.

If I were to just randomly scatter my blending board with colour, it is highly likely that I would get a fair degree of muddy optical blending, so I needed to be very ordered with my placement of colour on the blending board, and purposely keep the cyan and orange separate
I wanted to be able to repeat the same bold blend across my blending board numerous times so I added masking tape to guide where I placed the different wool and silk fibres. This should ensure that all of my rolags looked relatively similar no matter how many I make.

In this image I've added a transparent image layer of cyan, magenta, and orange and you can see that the colours overlap where the blue masking tape is placed. This should give me sections where the two colours optically blend together to give me a purple and a reddy orange band. Well that is the plan anyway!
For a more thorough look at some of my techniques I’ve uploaded a video version of this blog post to my YouTube channel. For a better explanation of my process, and the reasons behind my method, read on…
Full Disclosure - I'm a Dreaming Robots Affiliate. If you click through and make a purchase, I may receive a small percentage of the purchase price at no additional cost to you. Any profits from my blog go a small way towards funding future blog posts.
Step 1

Here’s how I lay the first layer of colour onto the blending board. I like to use the blending brush to help me to draft the fibres out as they’re placed on the board. I find thinning them out like this makes them easier to spin later on. You can’t really see the optical blend at this stage; that will begin to show up later on.
Step 2

Next, I add the silk colours using the blue markers to help guide me on where to place the colours. I usually draft silk fibres out more thinly as they have a tendency to stick together when you draft them during spinning.
Step 3

To tone down the brightness a little, and to add a little visual interest I added a thin layer of white superfine merino fibres.
I then repeated steps 1, 2, and 3 one more time and then just steps 1 and 2 so that I had 3 layers of colour, with 2 layers of white sandwiched in between.

I would normally add quite a bit more fibre to my blending board than this but you can see that in the areas where the colours overlap, there is nearly twice as much fibre than on the rest of the board. The silk fibres are almost level with the top of the carding pins so it would start to get tricky to brush down if I carried on.

As the silk fibres are so long, I find it so much easier to pull thin rolags off my blending board if I draft them out a little first. Adding clamps to my board also makes it significantly easier to pull on later on.

You can see in this animated gif that I had to draft the fibres out quite some way to allow me to roll off 4 relatively thin rolags.

To spin the singles I alternated the end that I began each rolag every time. So if I ended on the blue section I would begin the next rolag on the blue section and vice versa. This meant that at no point were the orange and blue fibres next to each other, avoiding the possibility of them blending together into mud.

I spun most of the rolags from the end with no additional preparation, but after a little while, I concluded that the thicker sections where the colours overlapped were creating areas that were less enjoyable to spin. The longer silk fibres have a tendency to bunch together meaning that I had to pull on the rolag more than I would like to draft the fibres out…

… so I switched to pre-drafting the rolags and the spin became a lot more enjoyable.

I went from spinning tight little board worms to fluffy little nests of roving. You can see how soft the fibre is in the second one; it was a joy to spin!

I stopped mid-spin to get this image of the blue Nano next to a pile of pretty coloured rolags. I'm not normally one for spinning bright colours, but this was great fun to spin!

Hopefully, these two images show just how much optical blending I managed to achieve. There are only cyan, magenta, orange, and white fibres in these pictures but I can also see shades of blue, navy, purple, coral, and dark orange too. I’m very happy!

I chain-plied all of the singles on my Electric Eel Wheel 6 to make sure that those colours stayed bright and fresh.


I love how many different colours you can see blended together using quite a reduced colour palette. The colours are really outside of my comfort zone so it was fun to use colour theory to allow me to experiment with a colour palette that I wouldn’t normally choose.

I used the EEW Yarn Counter to measure my yarn while I wound it into a nostepinne style ball to show off the colour changes.

I have quite a definite plan for this yarn that will hopefully celebrate the distinct colour changes and bold, bright colours. But for now, I’m just going to enjoy looking at it…
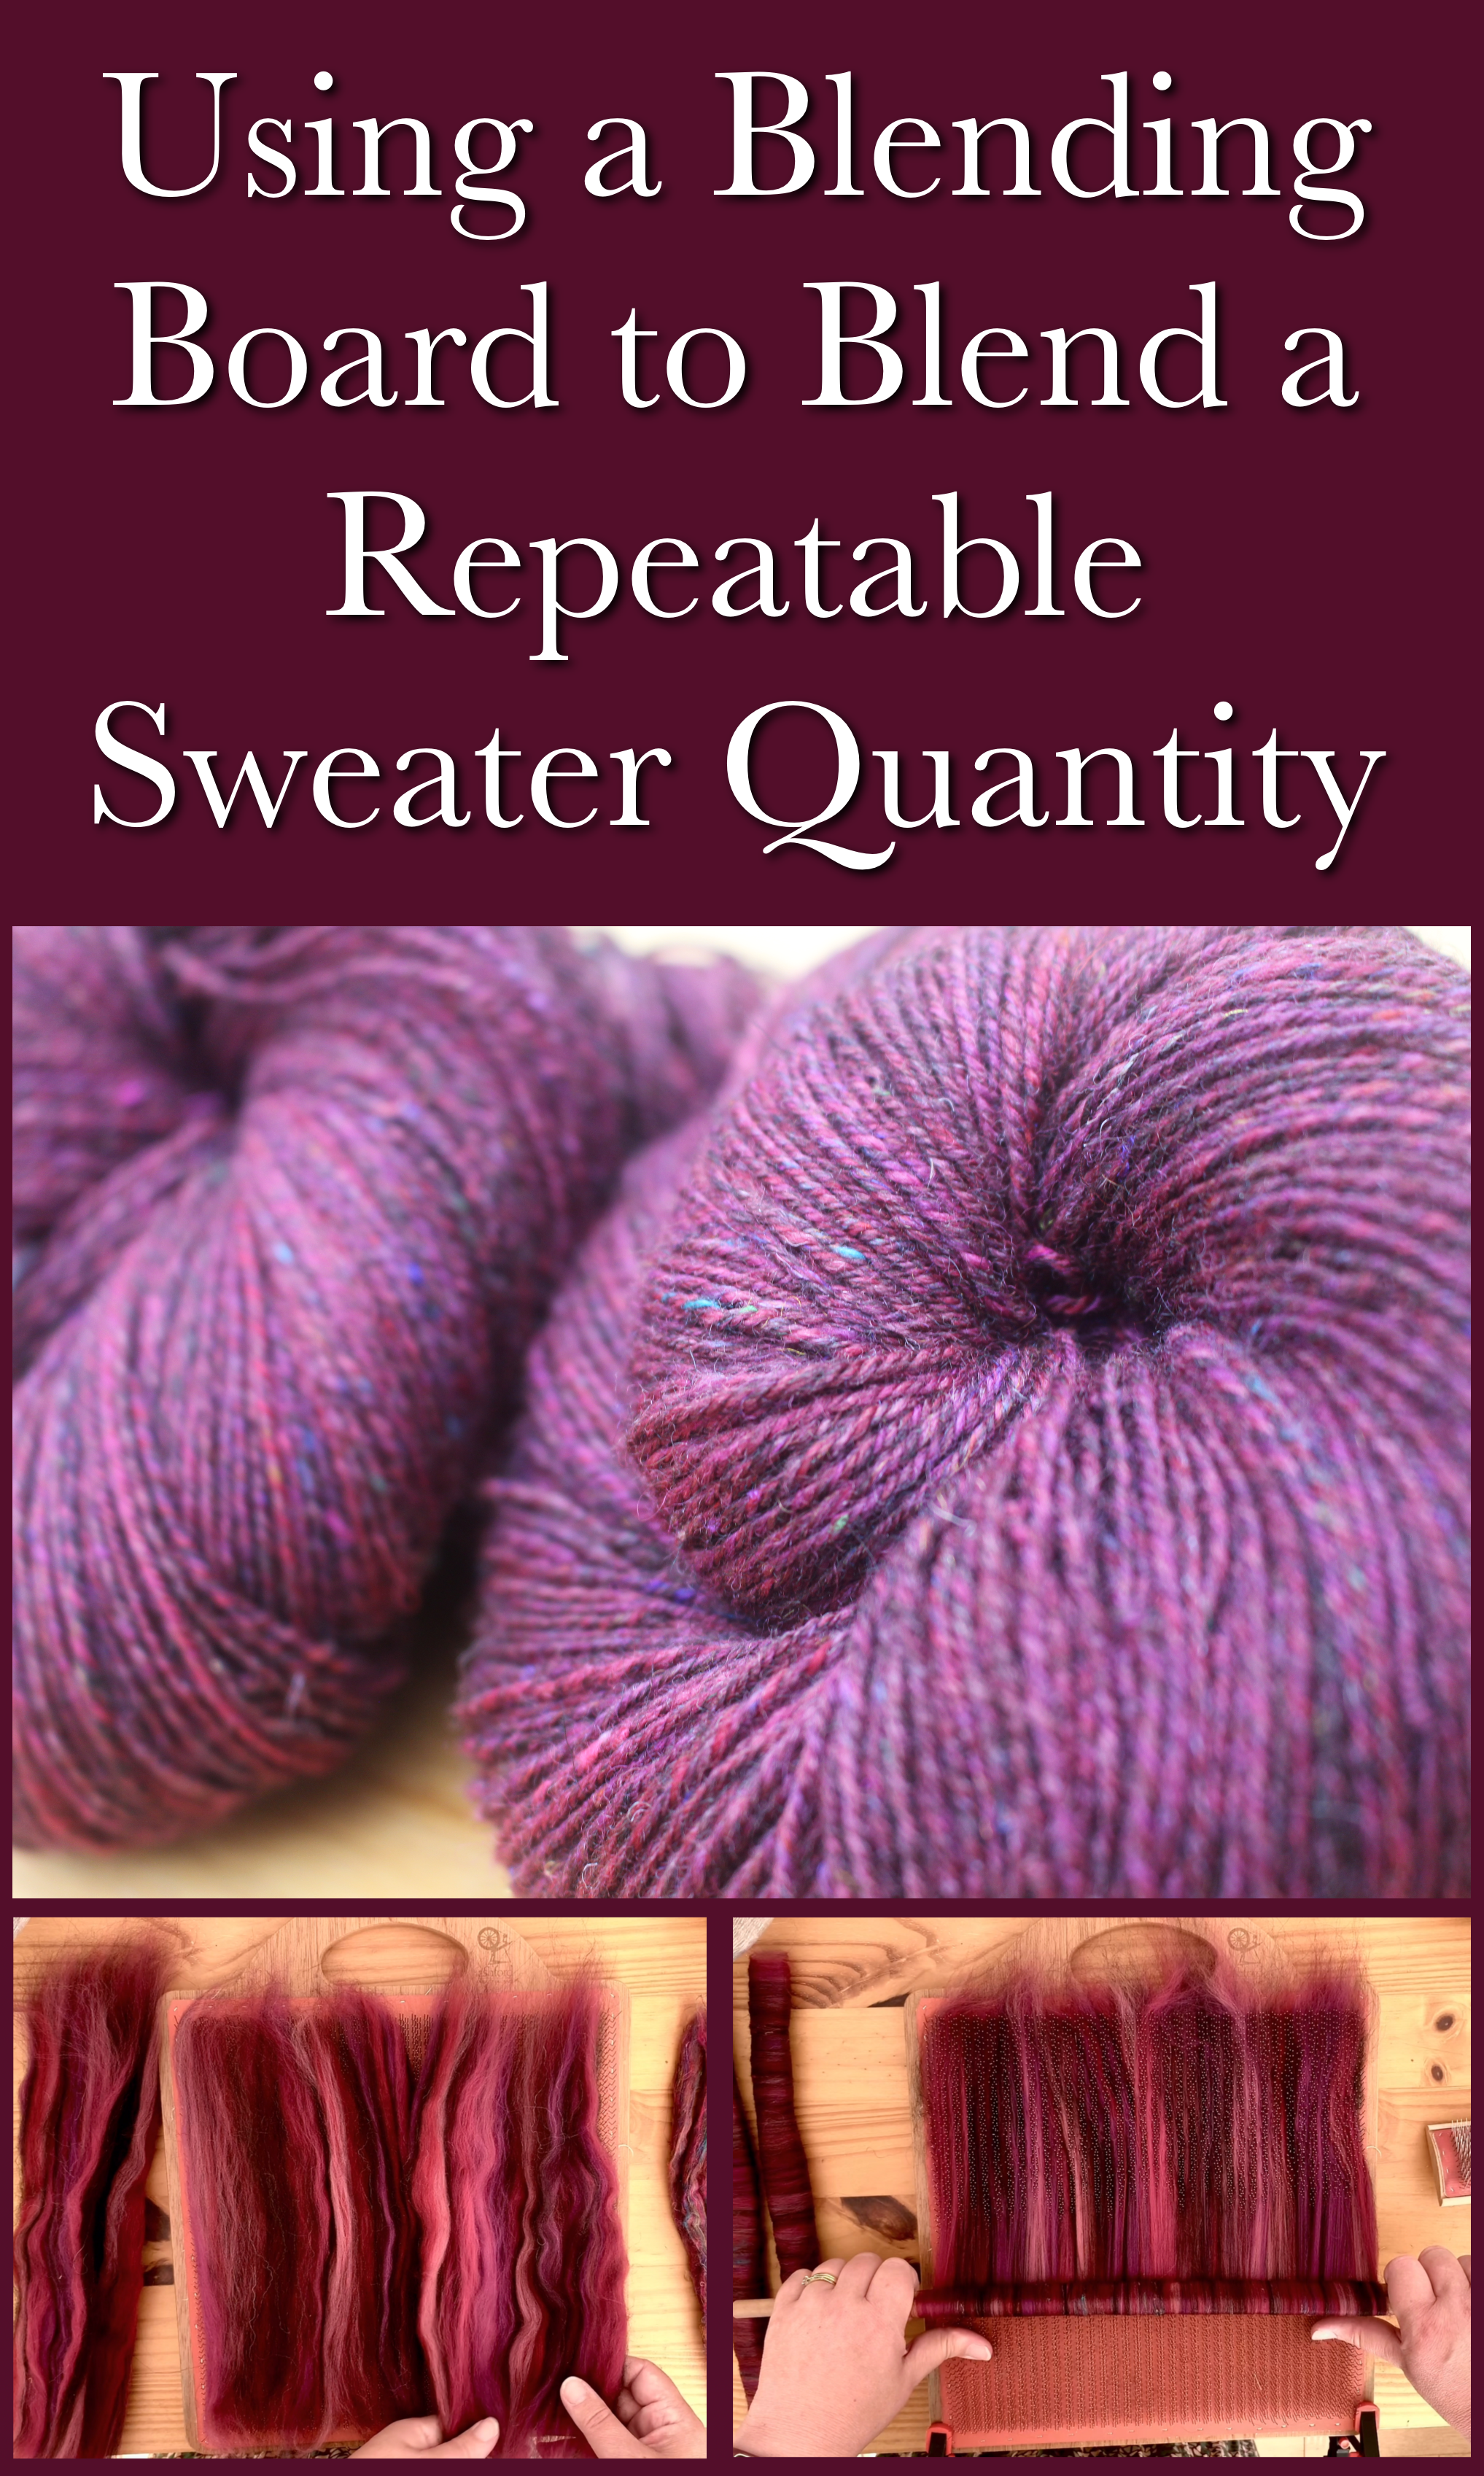
If you've found any of this post interesting or useful, please pin this image to Pinterest. It makes a big difference to me and helps other spinners find it too.
At this point, I normally suggest similar related blog posts, however, my list of spinning-related content is becoming a little unmanageable... If you'd like to read more blog posts about spinning and fibre preparation, please take a look at this page here where you will find links to all of my spinning and fibre articles.
Thank you for reading, and happy spinning!
Recommended Posts
 |
| Blending and Spinning an Autumnal Yarn |
 |
| The Blending Board Paradox |
 |
| Using a Blending Board to Spin a Repeatable Sweater Quantity |
 |
| 9 Different Ways of Spinning a Multicoloured Blended Top While Trying to Avoid Spinning Mud |
----------
Please be sweet and share the love. Leave a comment, subscribe to my YouTube channel, like my Facebook page for regular updates or follow me on Pinterest, Bloglovin' or Instagram
No comments:
Post a Comment