


I recently purchased a custom blend of merino wool from Wingham Woolworks and I've been experimenting with various methods of preparing it to try to prevent the colours from blending together too much.
There's a video version of this blog post if you'd like to take a closer look at my technique.

Following on from my “Spinning into Focus” blog series, I decided to tweak Technique 8 a little to see if I could further reduce the amount of colour blending I achieved.
(For my own future reference: the fibre above is 1 part black : 2 parts magenta : 2 parts bright yellow : 1 part bright cherry. I asked for it to be blended 3 times, but if I were to order it again, I would lower this down to 2 blending cycles to reduce the amount of colour blending in the final yarn.)

Here’s a screenshot from my Technique 8 video that this method is based on. I made variegated roving by placing 2 lengths of multicoloured blended top on my blending board and then drafted the whole contents of my blending board onto the dowels to make one big, thick blending board rolag.
 |
| Pre-drafted blending board rolag from my Spinning into Focus series. |
I then pre-drafted the rolag out to make it easier to spin from. I was finding that the fibres from a blending board full of fibre took quite a bit of tugging to draft them out - which made spinning from the single big rolag less than fun. Pre-drafting the rolag also seriously impacted how blended the colours in the final yarn were.
When I started playing with the custom Wingham blend on my blending board I wondered what effect it would have on the final spinning fibre if I didn't draft it out at all when I removed it from the blending board, but instead, just lifted the fibre and loosely rolled it around the wooden dowels.

Here’s how my blending board looks when I’ve broken off two lengths of blended top and then opened them up to place them on the blending board so that the colours are sitting next to each other rather than on top of each other.

Starting from the bottom and working my way up, moving slowly from side to side I brushed all of the fibres down to attach them to the blending board.

I removed the fibre from the blending board in a lifting and rolling action. Not pulling on the fibres at all means that the fibres will blend together less and come off the dowels more easily.

At this stage the fibres are very loose around the sticks and have a tendency to unravel. I need to roll them around in my hand to encourage the outer fibres to cling together a little to make it possible to pull them from the end of the roll in one continuous length later on.

Here's one big, fat, squishy roll of blending board fibre that came off the dowels very easily. I can now draft the fibres out to form roving.

I pulled the roving out quite a bit more than I have before until it resembled pencil roving. (I'm not sure that this can technically be classed as true pencil roving, but it's carded, pencil-thin, and has a very slight twist added to hold it together so I’m calling it pencil roving.) As it is carded, with only a moderate amount of fibre alignment, the yarn spun from this fibre preparation will be woollen-spun and airy.

Of course, if I was planning on spinning a bulkier yarn I would have drafted my fibre out less than this.
While I was preparing this fibre it occurred to me that this is a really good practice technique for new spinners as it allows you to focus solely on the drafting triangle and results in a thinner fibre preparation that is very forgiving and requires only minimal drafting.

I spun all of the singles on my Electric Eel Wheel Nano (affiliate link) and here are the spun singles on my Nano bobbin. I still drafted my pencil roving out quite a bit while I spun it as I plan on turning this into a chain-plied sport-weight yarn. I’m using my 3D-printed modular lazy Kate and I went on to chain-ply this at the wheel.
You can read more about the differences between chain plying at the wheel and making a chain-plied ball here.


From a distance, it's a warm autumnal, rusty brown...

... but when I spread the yarn out like this you can see the mix of light and dark browns, purples, oranges, and mustards in what is still quite a muted, understated yarn.
If I'm being honest, the colours blended together more than I anticipated, but this has more to do with the fact that I asked Wingham to blend the coloured tops 3 times rather than my fibre preparation technique. I now know to only ask the mill for 2 blending cycles if I want to make an effort to keep the colours more separate than this.

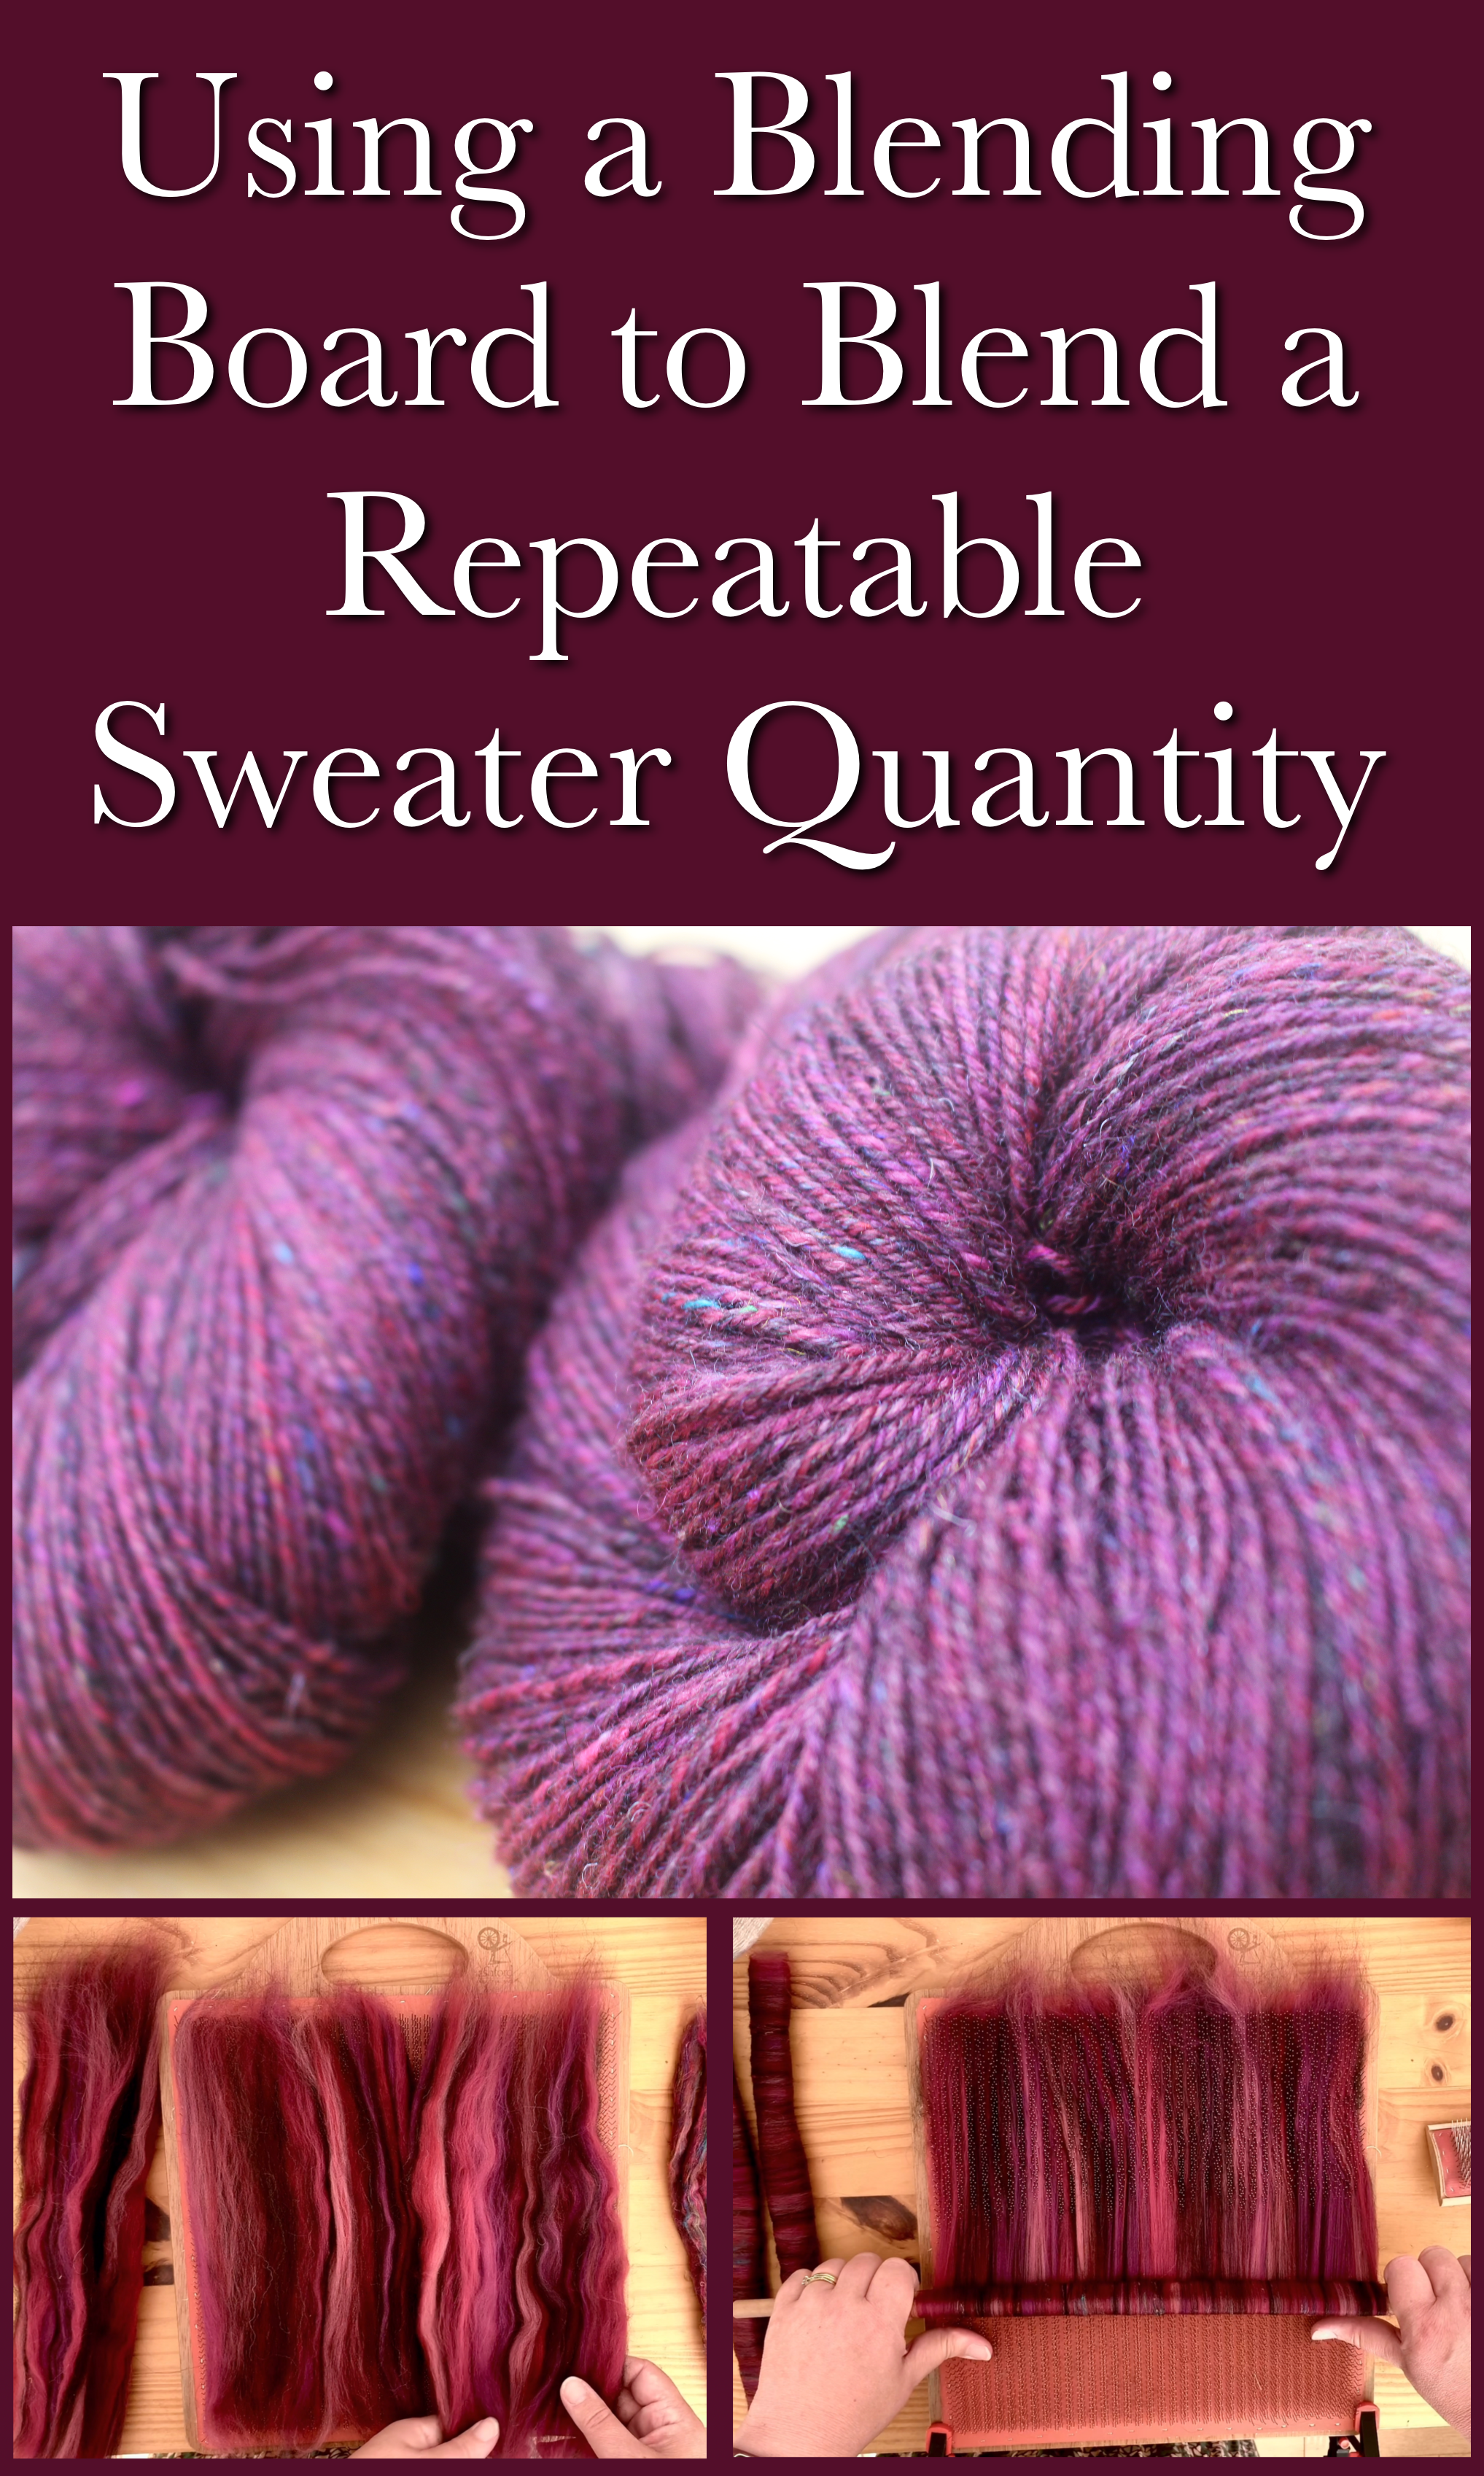
Here's my final yarn (on the left), next to a second yarn that was spun from the same fibre but with no attempt made to keep the colours separate. With the one on the right I just pre-drafted the fibre and spun it from the end. Both of the yarns are chain-plied at the wheel but the one on the right - although still a colour that I will happily wear - is flatter and far less complex and interesting.
If you've found any of this post interesting or useful, please pin this image to Pinterest. It makes a big difference to me and helps other spinners find it too.
At this point, I normally suggest similar related blog posts, however, my list of spinning-related content is becoming a little unmanageable... If you'd like to read more blog posts about spinning and fibre preparation, please take a look at this page here where you will find links to all of my spinning and fibre articles.
Thank you for reading, and happy spinning!
Recommended Posts
 |
| Blending and Spinning an Autumnal Yarn |
 |
| The Blending Board Paradox |
 |
| Using a Blending Board to Spin a Repeatable Sweater Quantity |
 |
| 9 Different Ways of Spinning a Multicoloured Blended Top While Trying to Avoid Spinning Mud |
----------
Please be sweet and share the love. Leave a comment, subscribe to my YouTube channel, like my Facebook page for regular updates or follow me on Pinterest, Bloglovin' or Instagram
No comments:
Post a Comment