


I'm trying to follow Ingrid Fetell Lee's formula for the Aesthetics of Joy, where she encourages people to go Joyspotting - Actively looking for aesthetic elements around you that naturally bring you happiness, and lift your spirits.
Well, what could be more joyful than some crocheted rainbow-coloured fairy lights that look like party streamers?! It’s got everything!

I know I said that I wouldn't be doing any crochet on my wreath, but after I spun this rainbow yarn a few days ago, I couldn't resist turning some of it into a swirling, twinkling set of joyful fairy lights.
I should warn you that my crochet skills are basic. I’ve crocheted the odd granny square, but nothing substantial. I’m much happier knitting, so this is definitely going to be a case of, if I can do it, so can you.
My husband's very much into smart technology and he loves dabbling in home automation wizardry. Last Christmas, he bought a few sets of smart fairy lights that he was able to wire up so that he can completely control them using an app on his phone. Well, he had a spare set and so I asked him if he could wire a set up for me to attach to my Joyful Wreath.

They're great! Without rewiring, they look almost like regular, pretty fairy lights - there are just 3 wires going to every bulb instead of 1. With a smart circuit added, they can be programmed to twinkle in whatever colours I want. You can buy similar ready-made ones here.
Full disclosure, this blog post contains Amazon Affiliate links to similar products that I purchased myself. If you make a purchase, I may receive a small percentage of the purchase price at no additional cost to you.
Preparing the fairy lights to crochet around them

There are actually 10m here, which is significantly more than I want, so I spread the fairy lights out to make them easier to fold a couple of times.

I brought the two ends of the fairy lights together and taped them together with masking tape, placing the last fairy light between the first and second light on the wire so that the fairy lights were staggered and not on top of each other.
I then followed the pair of fairy lights along until I reached the point where the wires folded over and placed some more masking tape over the folded end.

I folded the fairy lights over again, bringing the folded end to almost meet the start of the fairy lights. I staggered the lights again so that the four layers of fairy lights were all evenly spaced along the length of the wires.
To make it easier for me to crochet around all 4 wires I taped them together every 40cm or so.
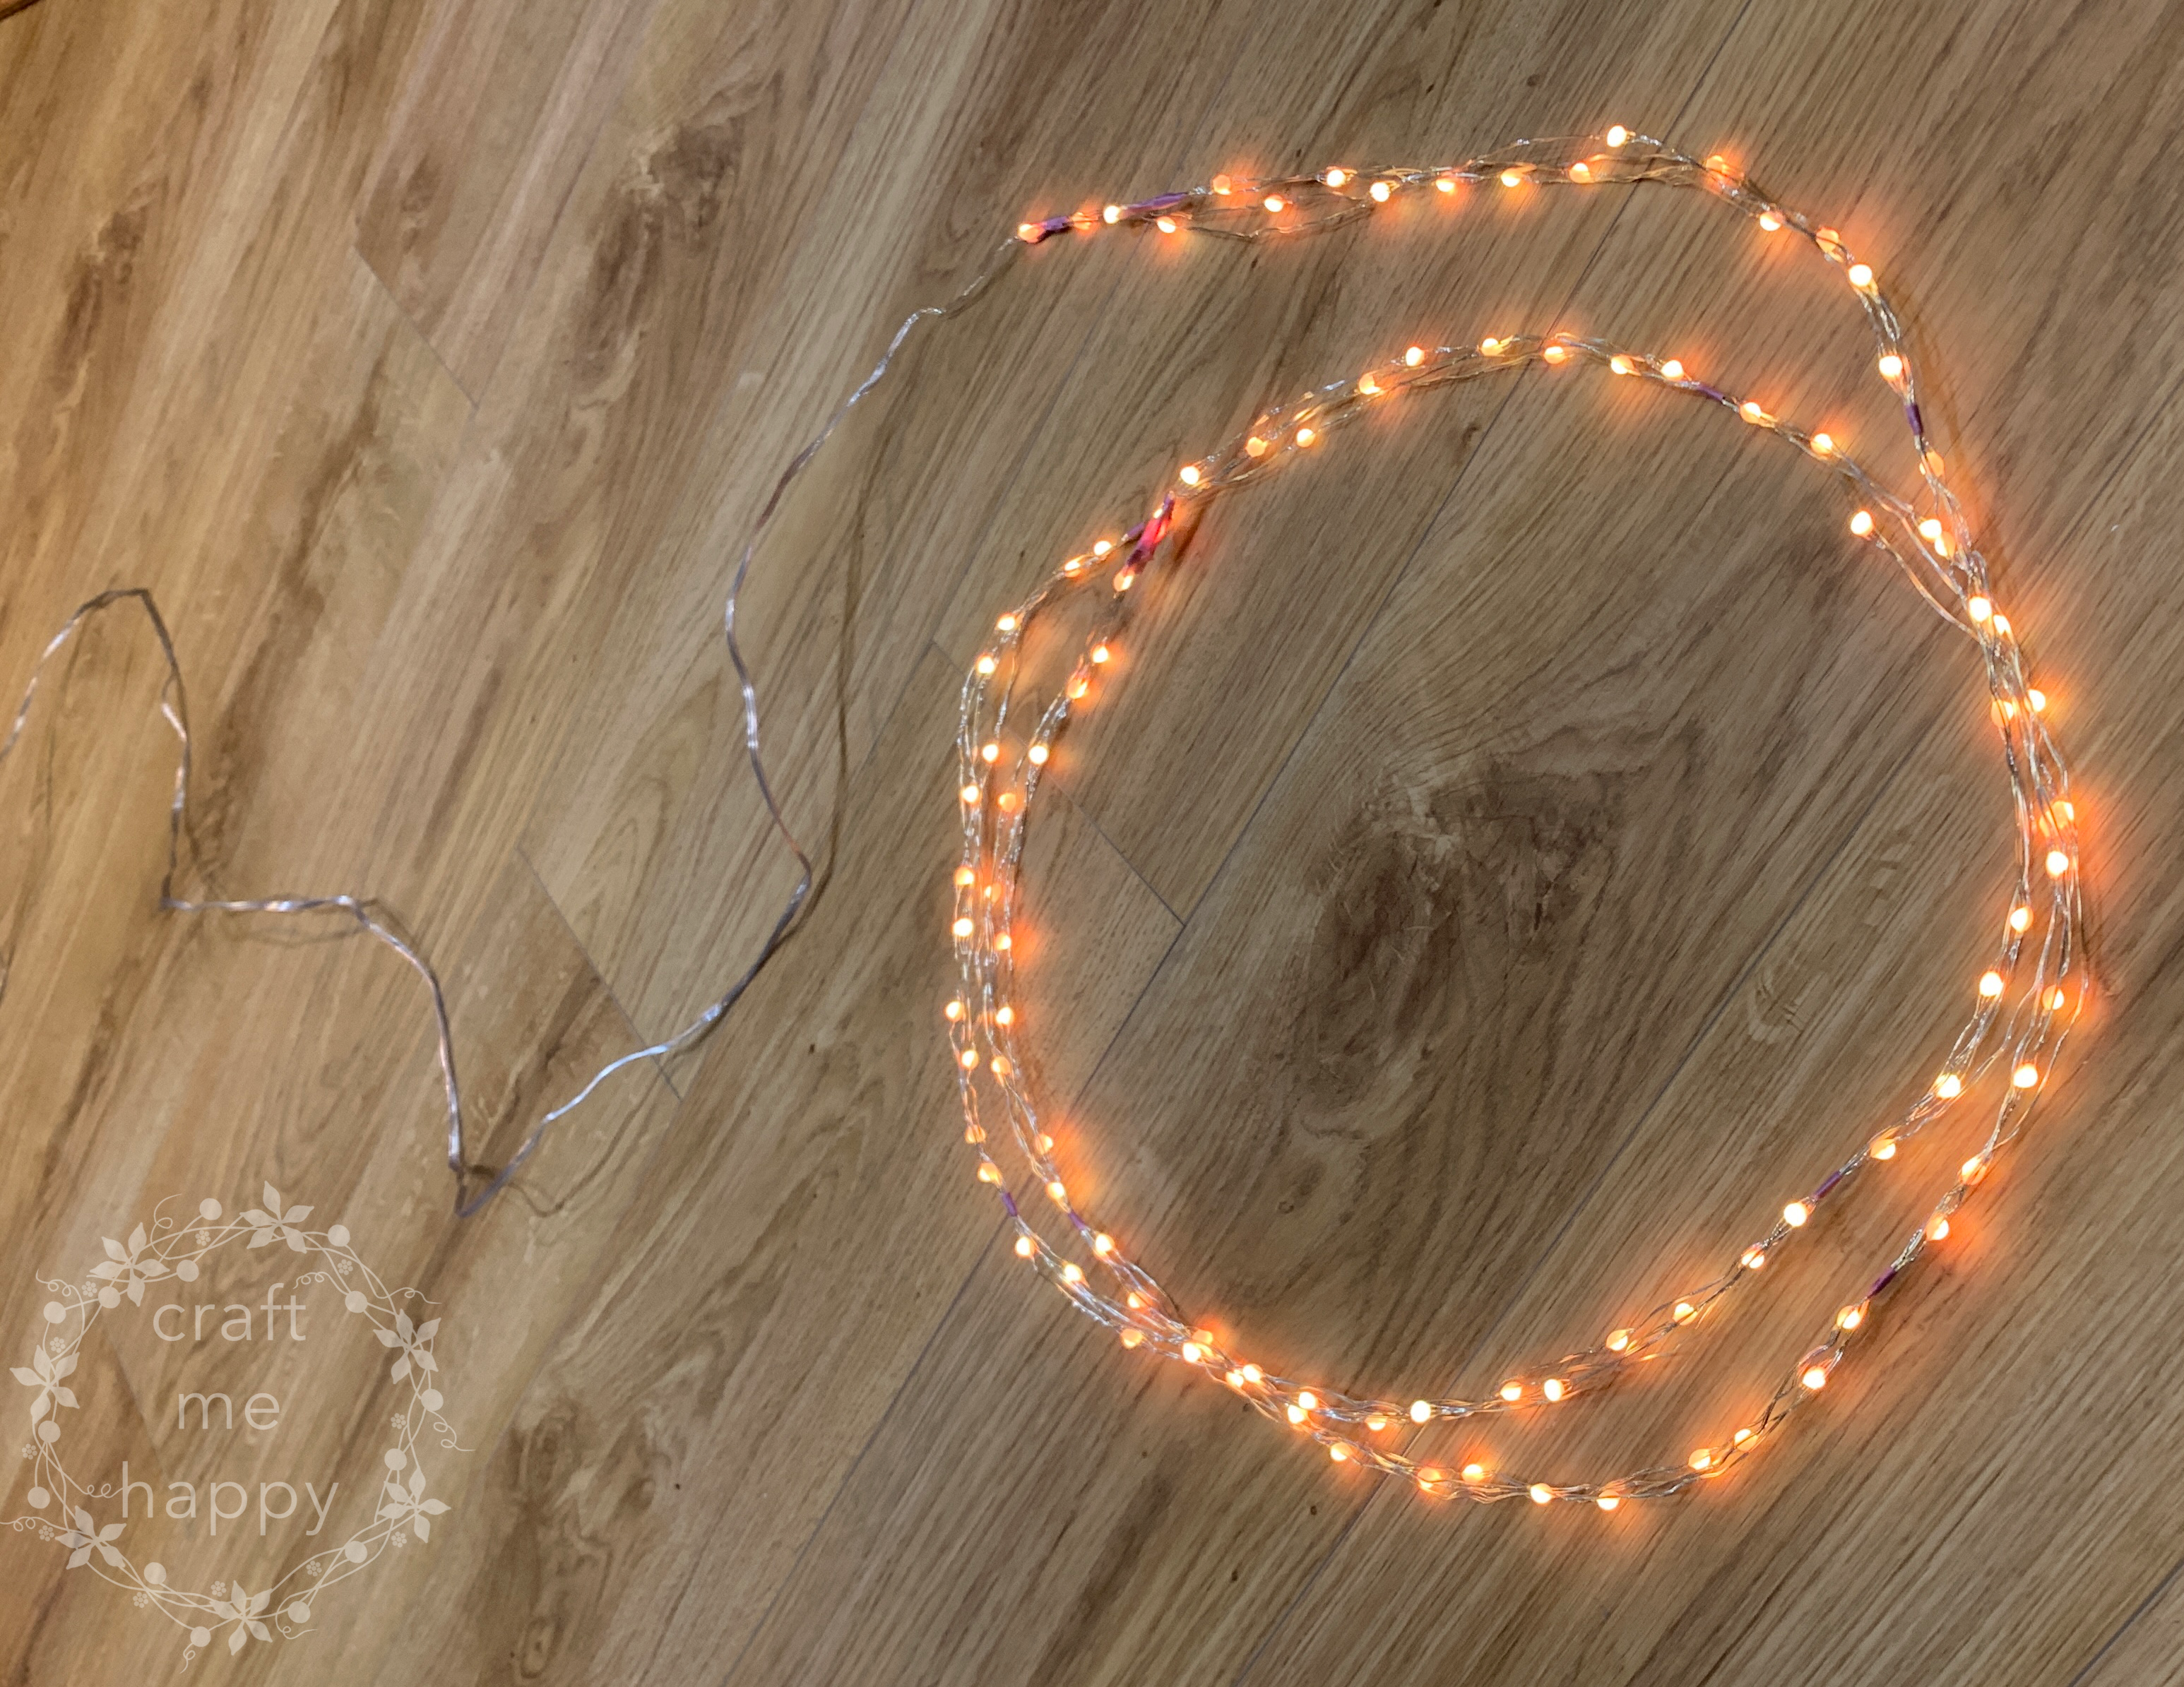
Here are 10 metres of fairy lights, reduced down to 2.5 metres. This length should wrap several times around my wreath, without them being too busy.
Crocheting around the fairy light wire
 |
| Crocheting over the wires between the fairy lights |
To begin crocheting around the fairy lights, I just made a slip knot and placed it on my crochet hook in the usual way. I then worked a (UK) double crochet stitch (US single crochet stitch) along the length of the wires. As there were no holes to crochet into, I just kept passing my crochet hook under the wires to pick up the yarn to work a double crochet until there were enough stitches between the lights to cover the wires up. This meant that my crochet stitches gathered up quite a bit, but I manipulated the stitches into undulating ruffles later on.
 |
| Crocheting the wires underneath the fairy lights |
When I reached a light, and I was happy that the wire between the lights had been sufficiently covered in double crochet stitches, I changed my technique slightly. I inserted my crochet hook between the wires and underneath the fairy light and continued to work 3 double crochet stitches around the wires, leaving the fairy light exposed.
I just kept repeating this technique of working many, many double crochet stitches to cover the wires and then working 3 double crochet stitches around the wires below the fairy lights until I reached the end.

I wanted my fairy lights to resemble swirling party streamers and so I coiled them around the base of my wreath, manipulating them until I felt that there was an even distribution of colour all the way around.
The wreath is going to be almost covered in decorations, so I’m not overly worried about neatness at this stage. I just wanted to make sure that the lights were well spread out.


To secure the long cable of the lights behind the wreath I stitched over it, tucking it under the strands of ‘fur’ to keep it close to the body of the wreath.

I was able to thread the cable to the battery pack underneath the fairy lights in several places so it's easy enough to remove if I need to.

I just needed to sew two long and one short loop to hold the battery and cable in place. Once unplugged, the battery can just be slid out to charge it.
The battery was one of the smallest and thinnest rechargeable power packs I could find. It's thin enough for it not to push the wreath away from the wall too much, and small enough for it not to be seen from the front.

Here’s a sneak peak of my deconstructed wreath. Hopefully, I’ll have it assembled and finished, all ready to share with you on the 12th…
Recommended Blog Posts -


----------
Please be sweet and share the love. Leave a comment, subscribe to my YouTube channel, like my Facebook page for regular updates or follow me on Pinterest, Bloglovin' or Instagram
No comments:
Post a Comment