


Last month I shared how to make these needle felted balls -

The balls are made out of the combing waste - the short fibres left on my combs after I’d blended 24 colours using just cyan, magenta and yellow wool. They’re going to make the perfect addition to my Joyful Wreath.
This month, I’m going to be using a little more of the rainbow yarn that I spun, to knit a miniature rainbow to go on the bottom of my wreath.

I used this yarn in my previous blog post on knitting spirals or curlicues, but I’m determined to use as much of the remaining yarn as possible.
Knitted rainbows have featured quite a bit on my blog, and in my Instagram feed, ever since I got a little bit obsessed by the infinite possibility of ‘blending a spectrum’.

I knitted myself this cushion out of 24 colours of yarn, spun by blending red, yellow and blue with 30% black…

I knitted my daughter a massive, bedhead sized cushion to make her metal headboard much more comfortable…

… and I knitted these hearts using samples of yarn spun by blending red, yellow, and blue with varying amounts of white.
Having worked out how to knit a huge rainbow, it’s very simple to scale that pattern down into a miniature one - and I can’t think of a more appropriate motif to go on my Craftmehappy Joyful Wreath!
To create the stripes I’m going to use a slightly unorthodox method; I’m going to make a magic yarn ball by Russian joining all of my different colours together beforehand. This way, I doubt that I will get a perfect colour change at the start of a round, but it will be more pleasurable to knit, and it’ll be interesting to see how those colour changes affect the look of the rainbow as the number of stitches in each round decreases.

Alternatively, I’ve also made this video showing the steps to joining two yarns together almost invisibly.

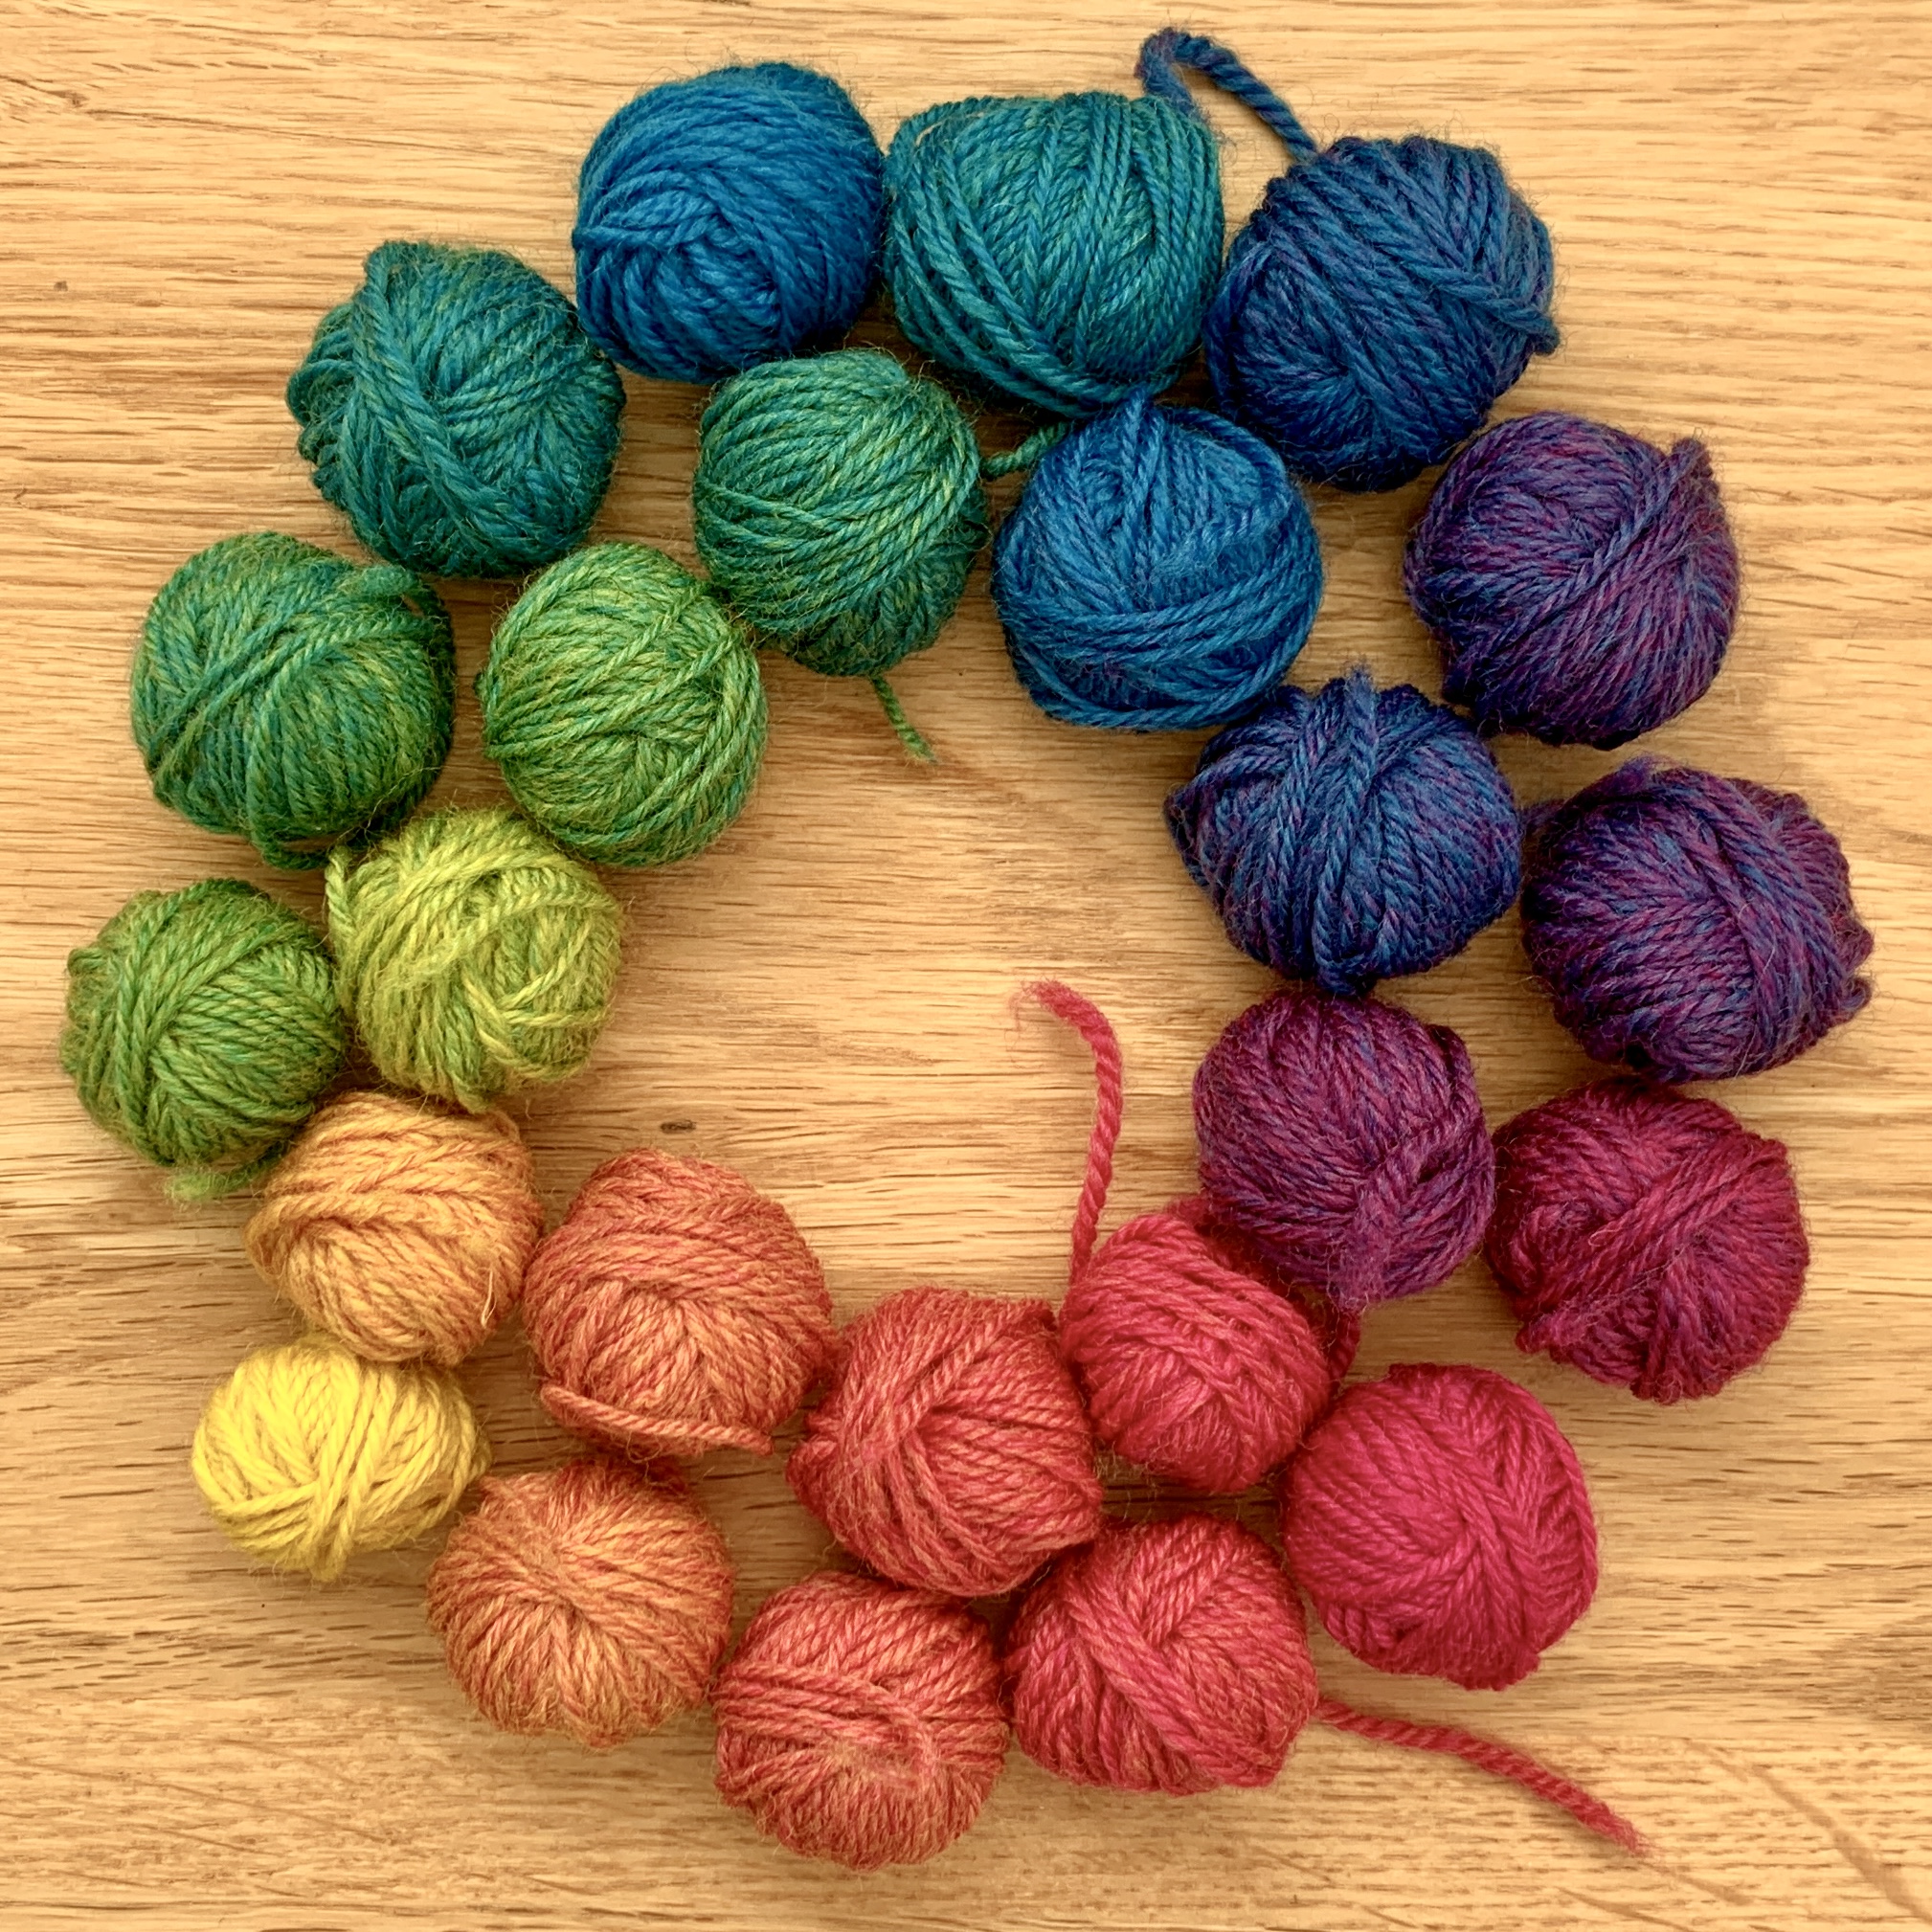
Here’s the magic yarn ball that I made to knit my rainbow, joining the yarns together in rainbow order. After quite a bit of sampling, I chose 15 different colours of yarn out of my original 24, and cut each one about 130cm long. This meant that the colour changes weren’t too noticeable, especially when they occurred in the middle of a round.
Knitting Pattern for a Miniature Rainbow
Below are my Amazon affiliate links. If you click through and make a purchase I may receive a small percentage of the purchase price at no extra cost to you.
My yarn is a UK 4ply/US fingering weight yarn and I knitted my rainbow on size 2.75mm circular knitting needles. If you are going to make a magic yarn ball, and use a heavier gauge yarn, I would suggest using lengths that are longer than my 130cm
---
Using circular knitting needles, cast on 104sts using Judy Becker’s Magic Cast on.
Here's a little video of me demonstrating Judy Becker's Magic Cast on. I also share a few of the things that I've made using Judy Becker's magic cast on in this video.
The pattern instructions are all in the graph below. If you prefer written instructions I’ve detailed them underneath.

Cast on 104sts using Judy Becker’s magic cast on
Round 1: knit
Round 2: (p1, k1) repeat to the end of the round
Round 3: (k1, p1) repeat to the end of the round
Round 4: as round 2
Round 5: knit
Round 6: *k5, (k1, k2tog) 14 times, k5 repeat from * for the other side of the rainbow. (76sts)
Rounds 7 - 11: as Rounds 1 - 5
Round 12: *k5, (k2tog) 14 times, k5 repeat from * for the other side of the rainbow. (48sts)
Begin to join the inside of the rainbow together using Kitchener stitch. When you have grafted about three-quarters of the stitches together, slide the stitches onto the cable of the circular needle and stuff the rainbow using your favourite stuffing material. Slide the stitches back onto the needles again and finish grafting the inside rainbow stitches together.

Here's my finished miniature rainbow.

I made two fluffy pom pom clouds to sew onto the bottom. I think this is going to look so cute at the base of my Joyful Wreath! I used something a little unusual to make my pom poms and so I'll share how I made those in a later post...
I'm thinking of making another tiny little rainbow to hang on my Christmas tree this year, but I think that this would also look great hanging from a baby's mobile.

If you enjoyed this post or found it useful, please pin this image to Pinterest. It makes a big difference to me, and it helps other crafters find it too.
Other Related blog posts -

 |
| Simple layered 3-dimensional needle felted flower tutorial |

 |
| Knitted Curlicues - How to Knit a Spiral |


----------
Please be sweet and share the love. Leave a comment, subscribe to my YouTube channel, like my Facebook page for regular updates or follow me on Pinterest, Bloglovin' or Instagram
No comments:
Post a Comment