


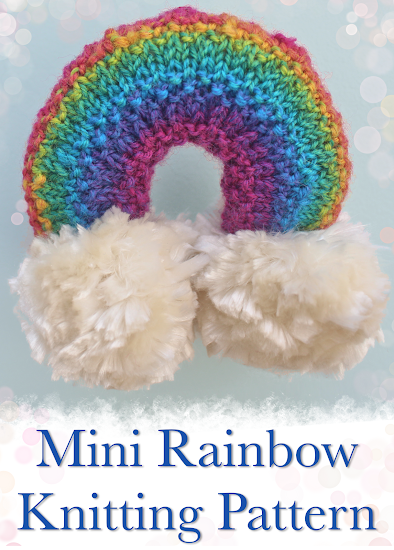
Last month I shared my knitting pattern for this small rainbow decoration -
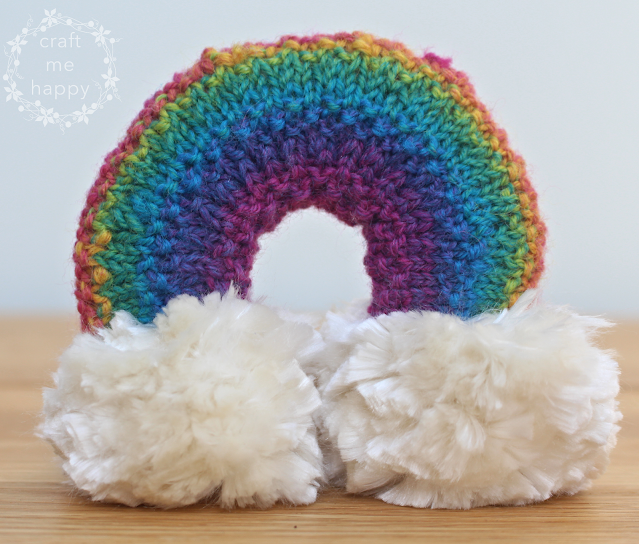
August’s motif is quite late, but my goal for the rest of this year is to try to post one repeating wreath decoration a month, with a final reveal in December. Some of the wreath motifs will be new to my blog, while others will be an updated version of one of my more popular craft tutorials. Hopefully, by the end of 2022, I will have made a completely joyful and fabulous wreath to hang on my craft room door to brighten everyone’s morning.
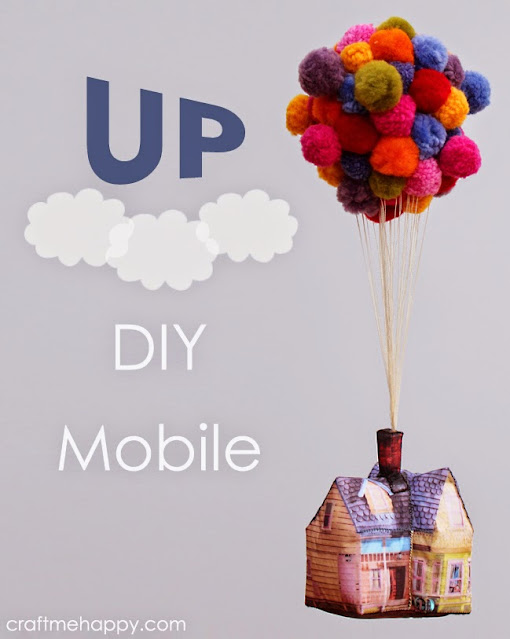
Way back in 2014, I wrote about how I made this hanging ‘Up House’ decoration. It’s still one of my more popular blog posts, and one of my favourite makes that I’ve shared on my blog.

I made all of these pom poms using the Multipom - a metal frame designed to help you quickly make multiple pom poms in one session.

I’d been sent the Multipom to review as part of Cut Out and Keep’s Craft Test Team. At the time, the Multipom was so new that the makers didn’t want me to demonstrate, or show an image of it; just the ridiculous amount of pom poms that I made with it.
Well, it’s 8 years later, and as Multipom are now happily demonstrating it on social media, I think I can safely assume that it’s OK to write a tutorial using the Multipom.
----
If you'd like to see an edited video of my step-by-step process of making silk top pom poms on the Multipom, you can find one on my YouTube channel here
Some of the fluffiest and quickest pom poms I’ve ever made have been made out of wool tops -
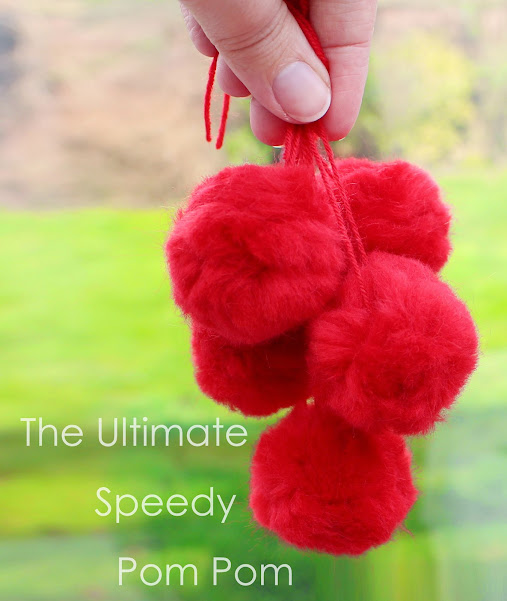
In a later blog post, I made all 11 of these fluffy pom poms, in less than half an hour, using wool top and an upturned chair.
(For non-spinners, wool top is a length of wool staple fibres that have been combed so that all of the fibres lie parallel. The fibres have been aligned and reduced down to a thickness of a few cm to make it more manageable to spin from.)

This time I’m going to be using silk tops and the Multipom for an even fluffier, more luxurious pom pom.
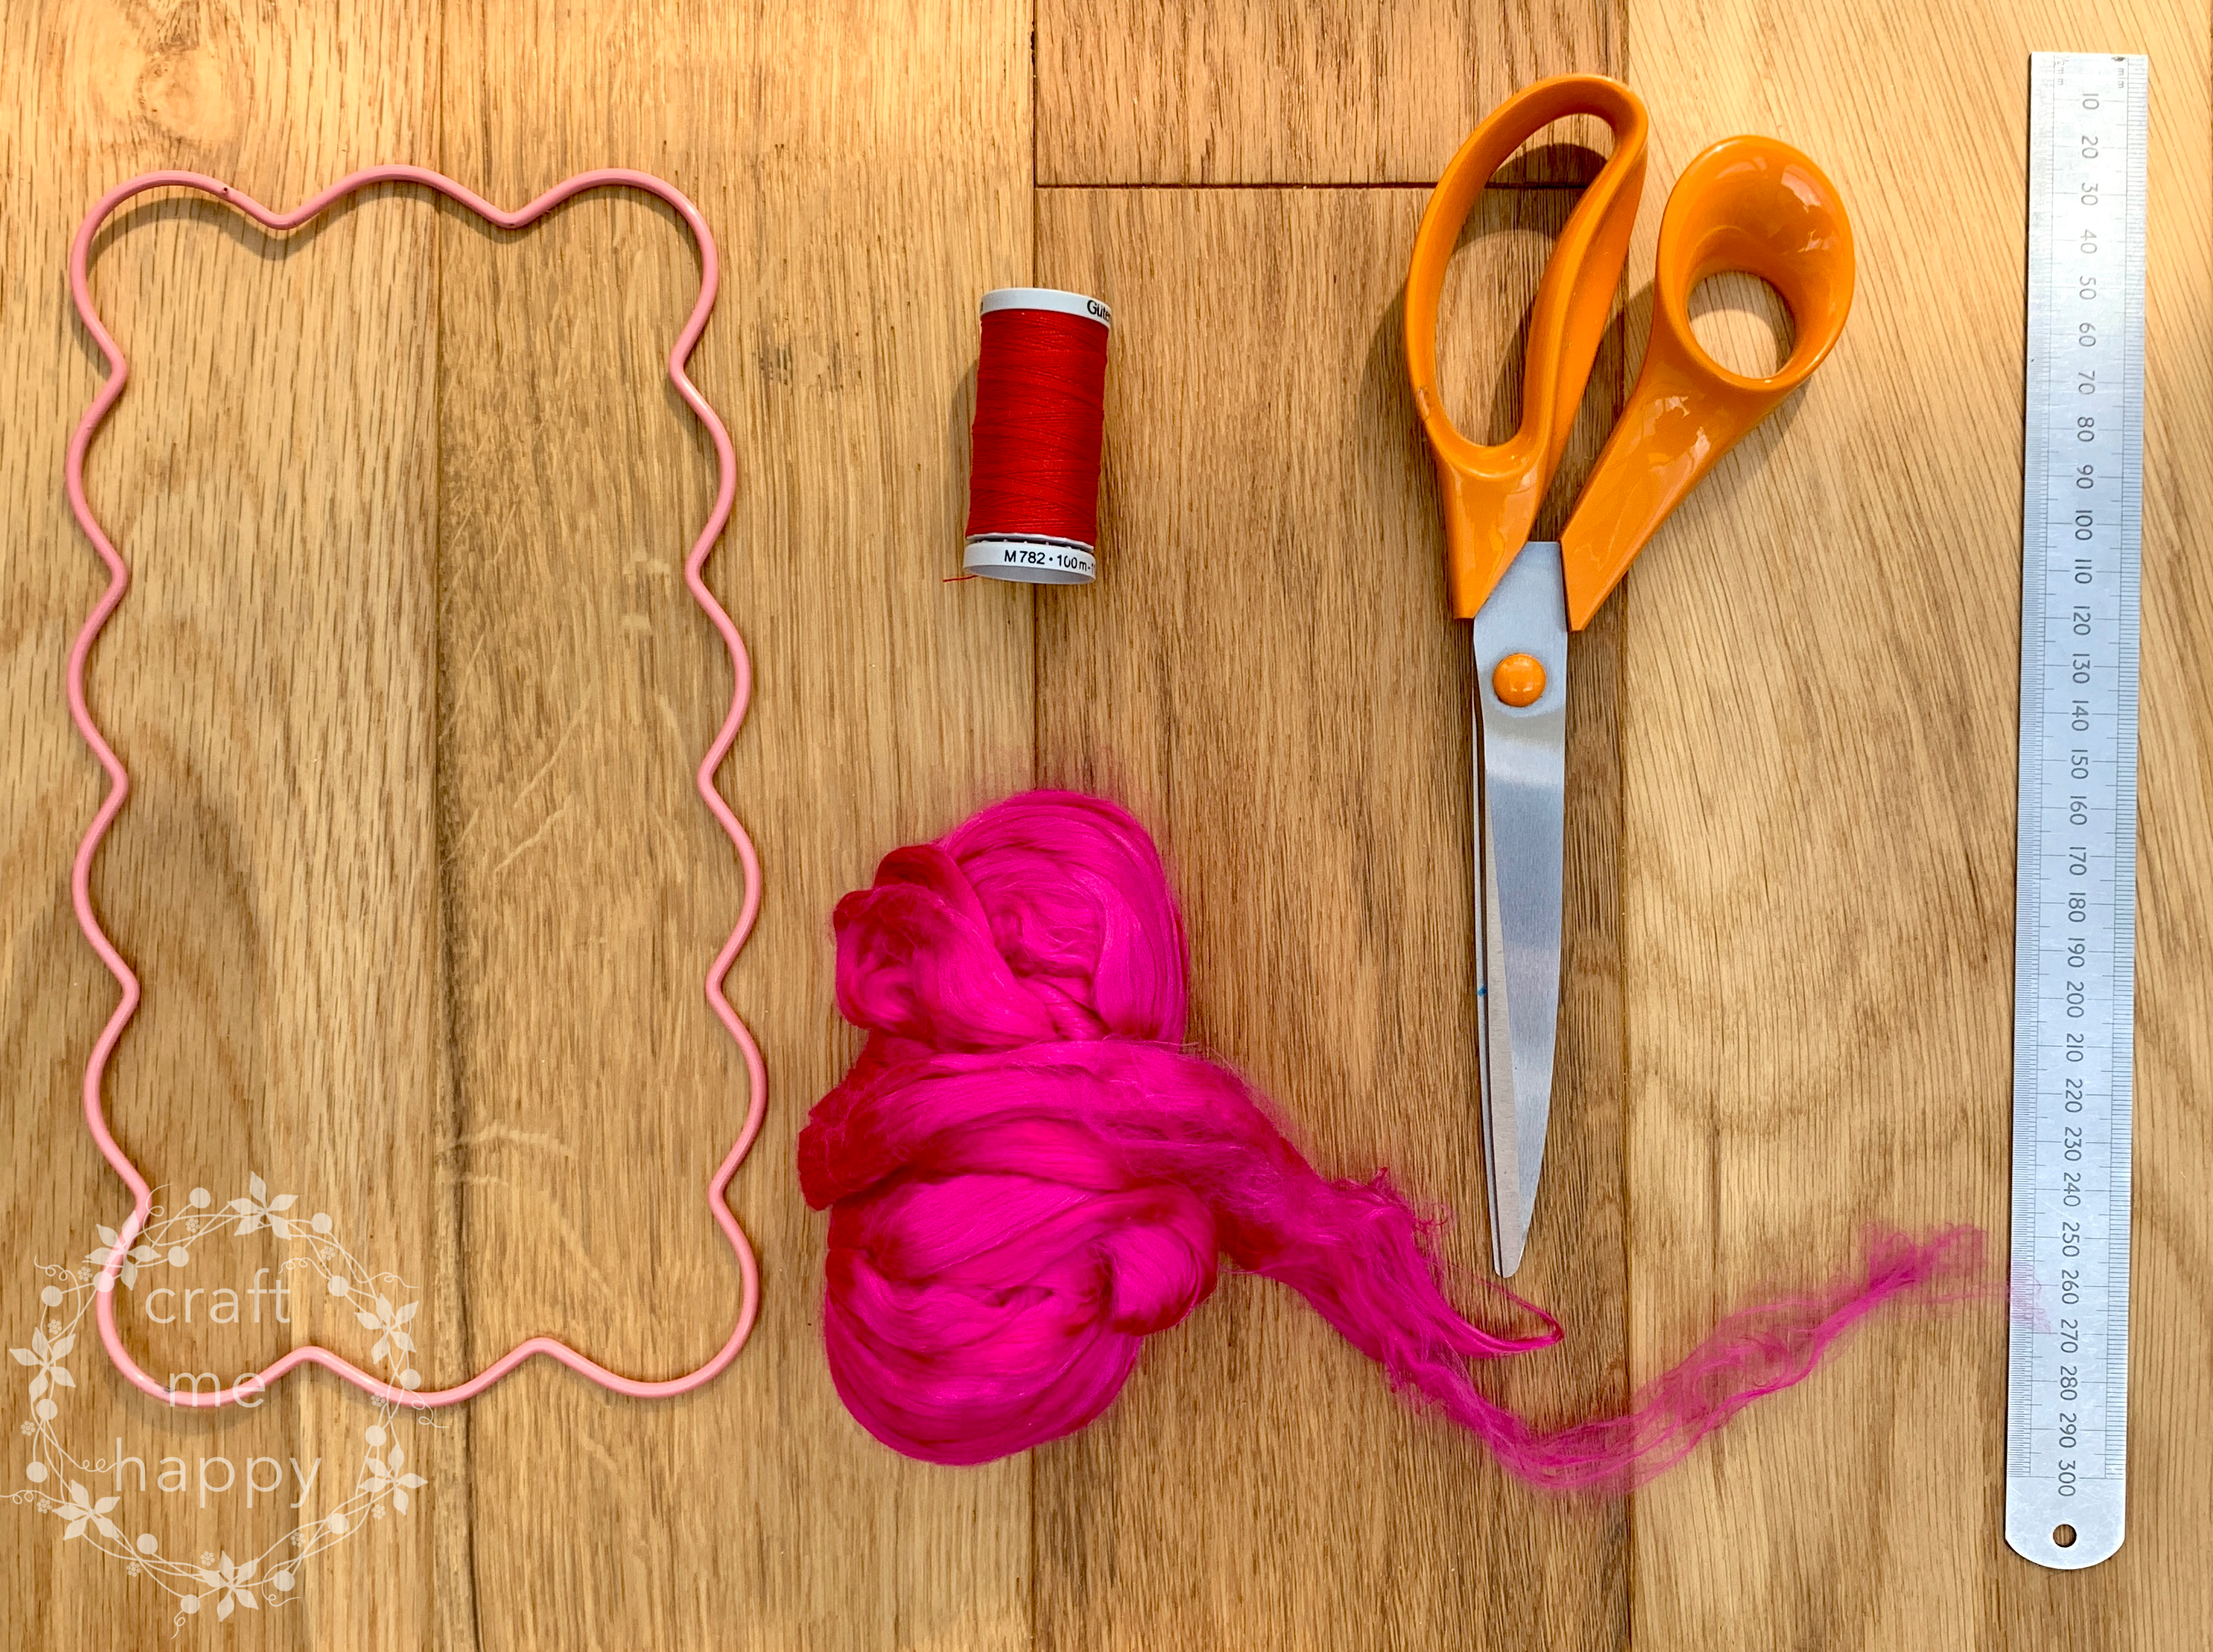
Materials and Tools Used to Make Fluffy, Silk Top Pom Poms
Some of the links below are Amazon affiliate links to products that I've purchased myself. If you click through and make a purchase I may receive a small percentage of the purchase price at no extra cost to you. Product links outside of Amazon are purely for your assistance and are not sponsored in any way.
- Multipom
- Silk tops in various colours. I purchased these silk tops from World of Wool
- Sharp fabric scissors
- Upholstery thread
- Quilting clip or peg
- Ruler
- Clothes steamer or kettle
When you make pom poms with silk or wool tops, the pom pom size is slightly limited by the fibre staple length. You just need to remember that tops are not a continuous length of filament, but a collection of aligned staple fibres. If you try to make a pom pom that is too large, there will be an increased number of loose fibres that are not held in place at the centre, and your pom pom will shed quite significantly and may fall apart when it’s handled.
I experimented with various thicknesses and sizes of silk pom poms and the ones that I was happiest with were between 2cm and 5cm in diameter.
The Multipom simply acts as a conveniently sized rigid frame, and the indentations ensure that the layers keep as close together as possible. If you don’t own a Multipom, you can wrap the silk tops around any two rigid points - maybe around the legs of an upturned stool, table or chair?!
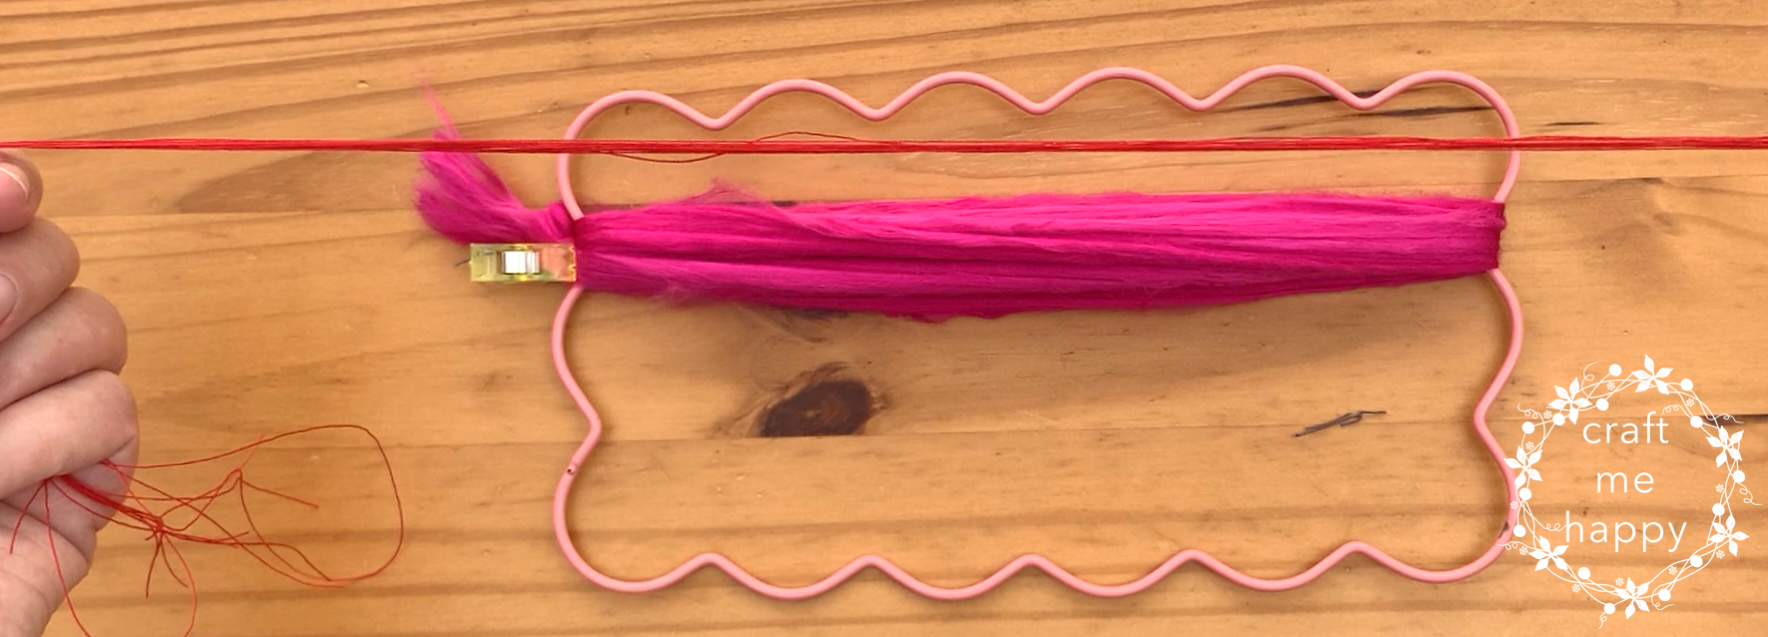
I’m making these pom poms on the longer stretch of the Multipom. When I was just sampling to work out how many layers of silk top were needed to make different sizes of pom poms, I rotated it by 90 degrees so that I didn’t waste too much fibre.

Pinching the silk top at the very end, I wrapped it around the Multipom a few times. Here, I’m planning on making quite small 2cm pom poms, so I only wrapped it around 3 times in total. For a larger pom pom, I wrapped it around a couple more times. (For reference, the darker blue pom poms were made with 5 wraps of silk top, and the knots spaced at 2.5cm intervals.)

Holding the end of the silk top close to the Multipom frame, I clipped it to the beginning of the silk top. I then cut it close to the clip so as not to waste too much.
Now it’s time to cut several lengths of thread to tie the pom pom centres. I’ll be making 11 pom poms in total so I’ve cut 11 x 75cm lengths of upholstery thread.
I experimented with a few different threads. I was trying to find a balance between strength and friction. I needed to find a thread that I could pull tightly without it breaking, but would also hold in place with one knot without it loosening when I let go. I tried crochet cotton and waxed jewellery thread, but I finally settled upon upholstery thread as this was the strongest thread I had, without being too slippery.

To help me to easily position my knotted threads I made myself a knot template. I just drew a horizontal line and then marked a vertical line at every 2cm point. You could just use a ruler, but I found it much easier to space out my knots this way.

When you knot your pom pom centres you need to pull them as tightly as possible - this is why it’s really important to use a strong thread as you need to be able to tug on it and know it’s not going to break. To prevent my knots from loosening, I looped the thread through my knot 6 times before I pulled it tight.


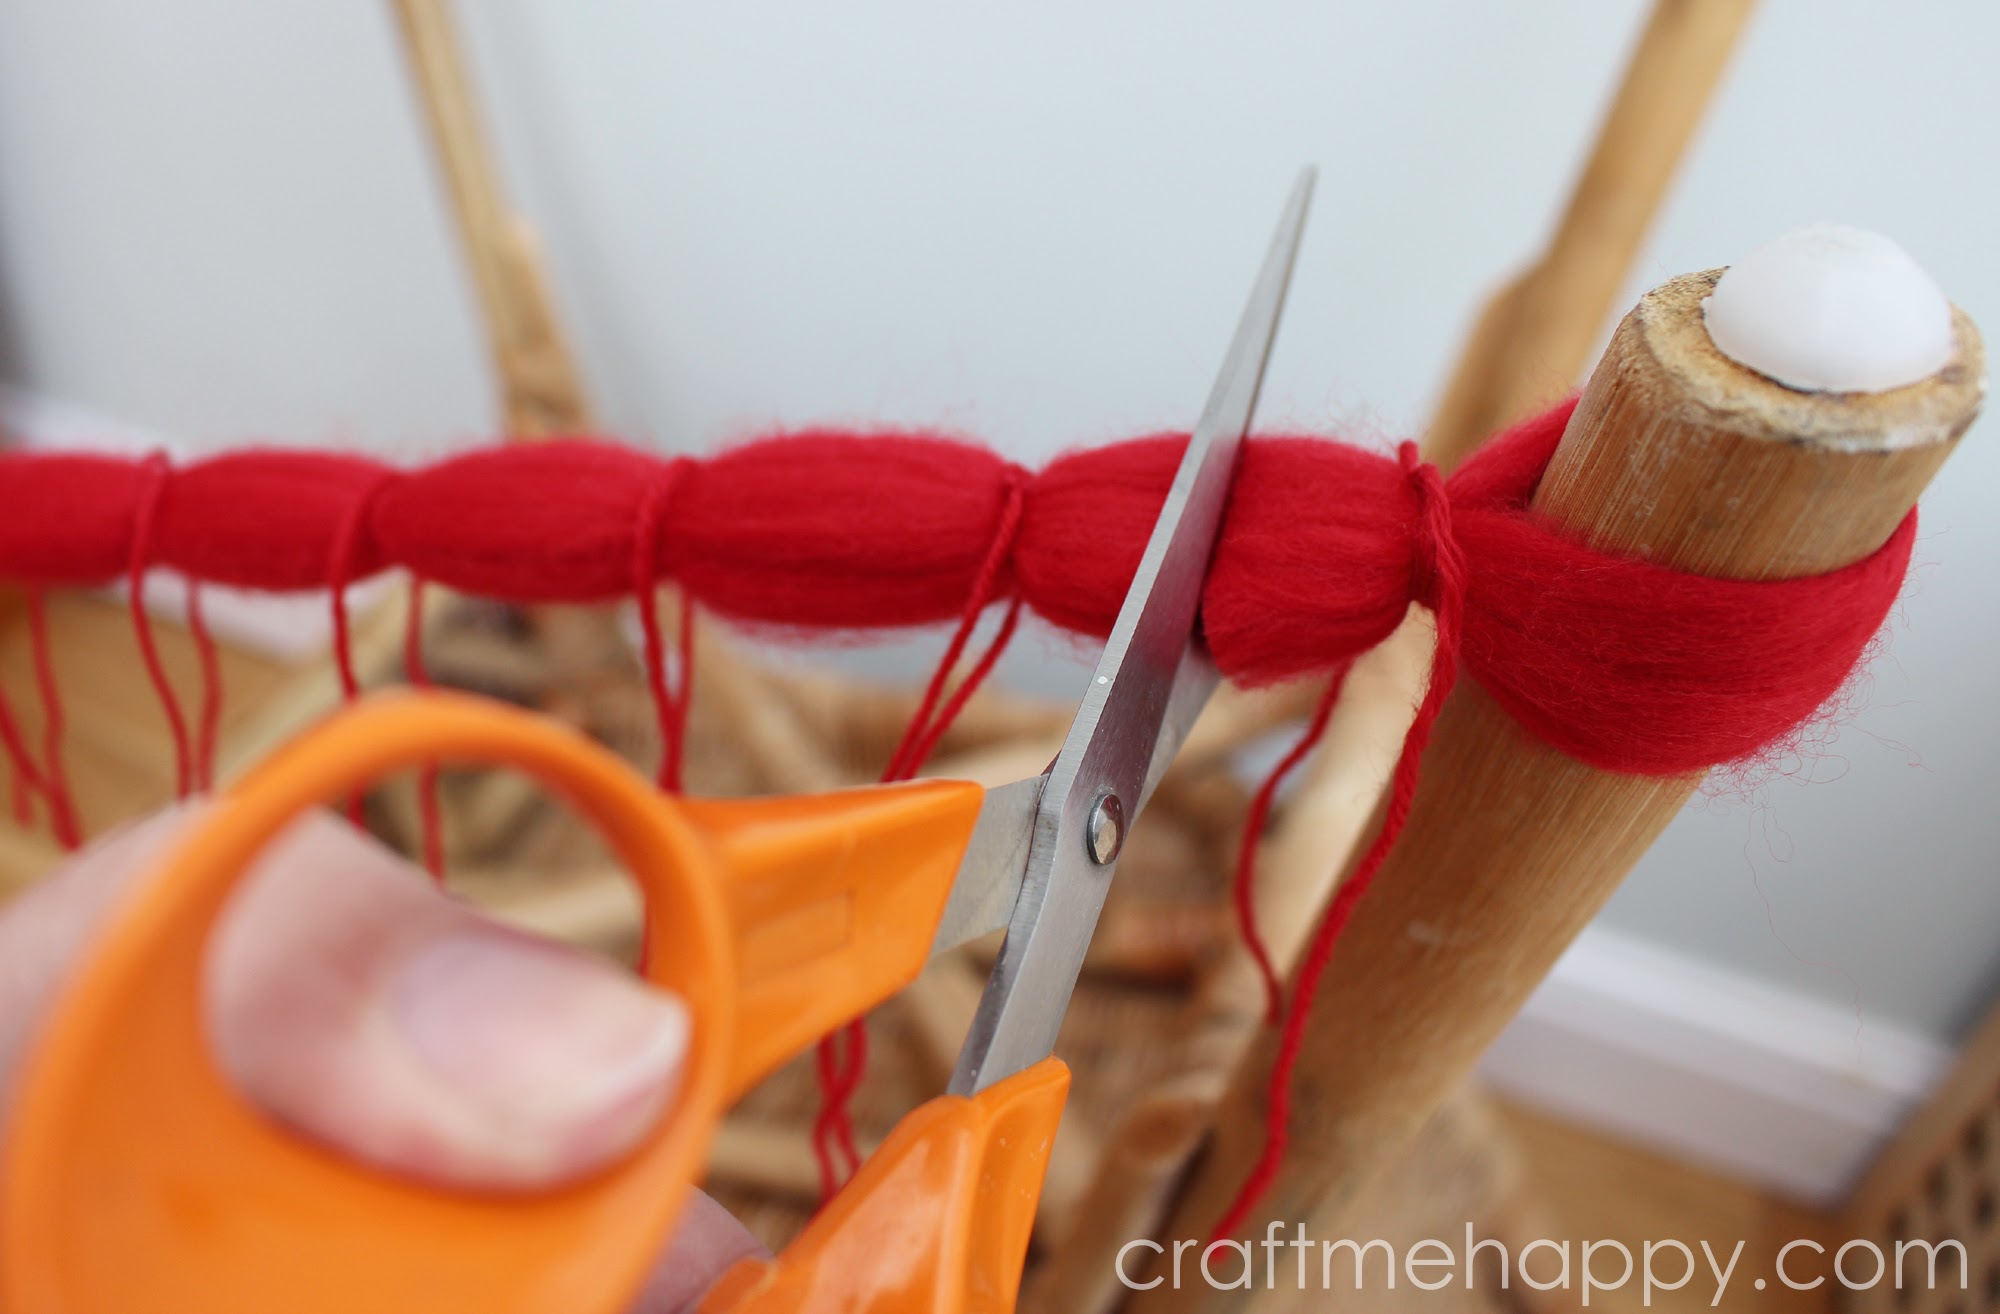
Using a pair of sharp fabric scissors, cut the silk top close to the inside of the Multipom frame.

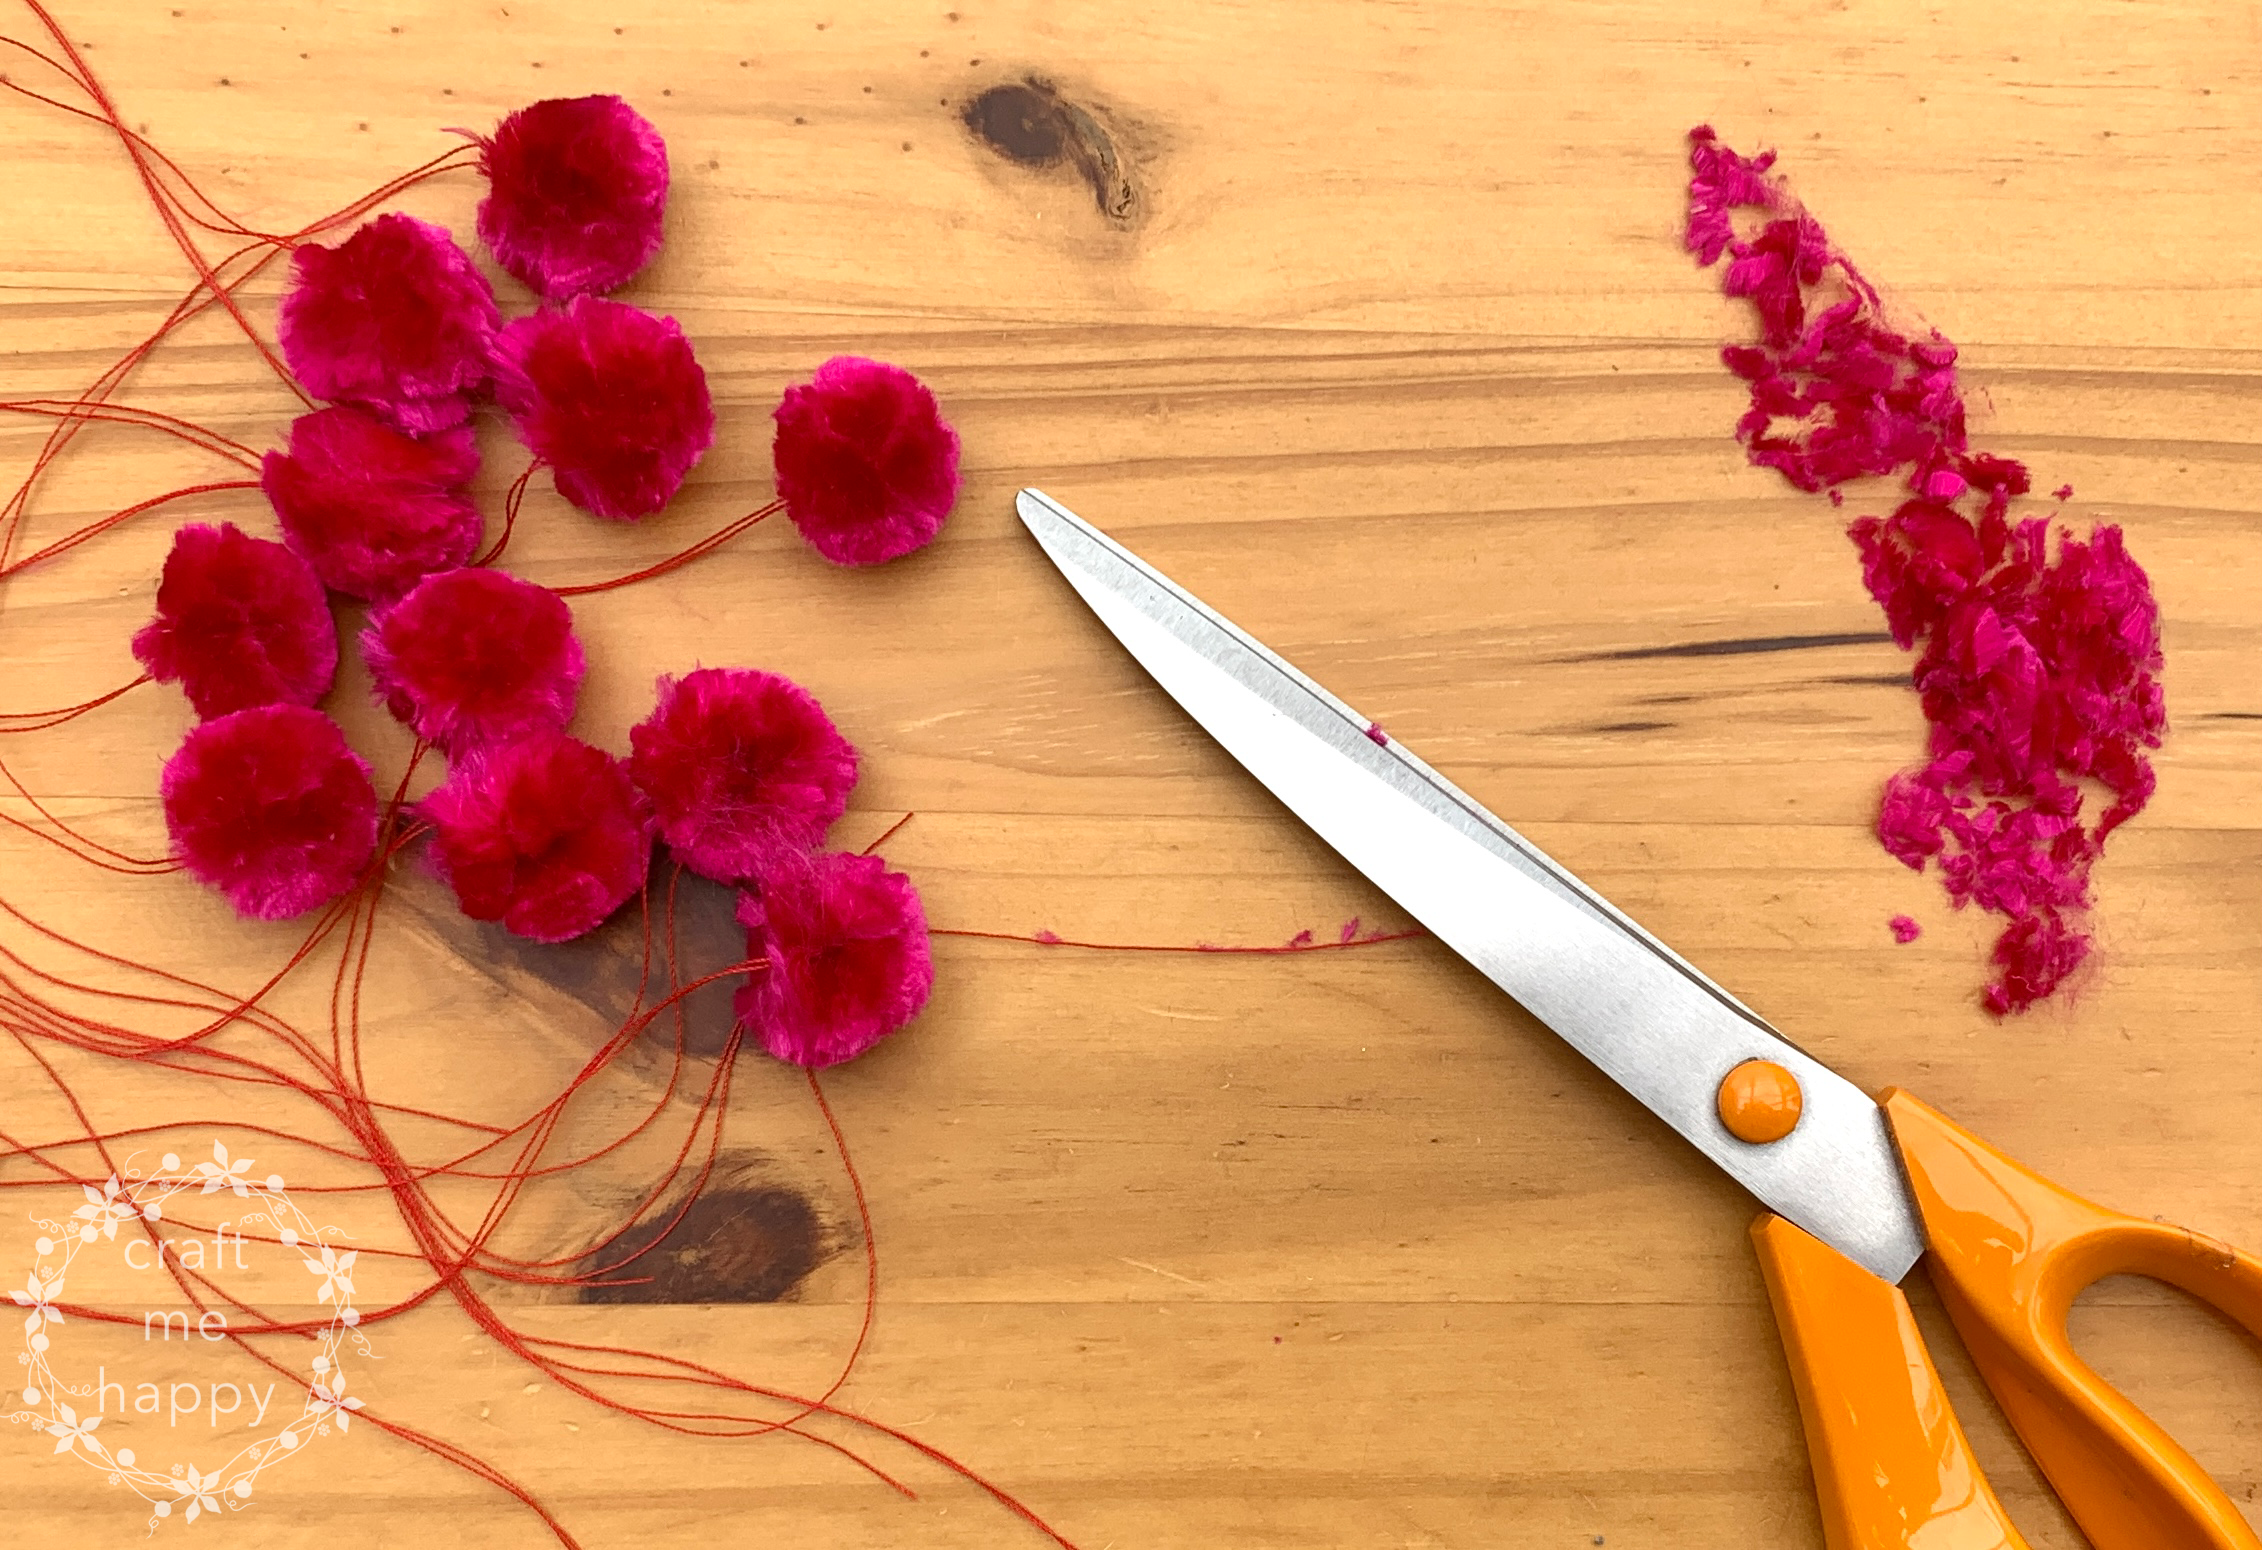
Continue to cut the silk top exactly halfway between each knot until you have lots of little fluffy haystacks.

I find that most pom poms need a little trimming to shape them. I tend to squeeze the two halves of the pom pom together and first trim around the area circling the knot, and then snip away at it until there are no obvious protruding sections. I wasn’t necessarily aiming for perfectly round pom poms. The pom poms are going to be sewn onto a wreath where one section will be flattened down anyway.
Here are all of my pom poms after a light trim. They’re almost finished, but they would definitely benefit from a little steaming. The fibres are still quite compacted and the section where I knotted them is still creating a visible seam. Steaming will open up the compacted fibres and make the pom poms even fluffier!

I just dangle a pom pom in front of my clothes steamer for 20 seconds or so, spinning it around so that all of the pom pom comes in contact with the steam. Alternatively, you could hang them over the spout of a boiling kettle, or plunge them into hot water and roll them into a ball to dry.

While the pom pom is still wet, I shape it gently with my finger, paying extra attention to the seam area, trying to soften the line created by the thread. (You can see that a few of the fibres have become loose as they weren't caught up when I knotted the pom pom.)
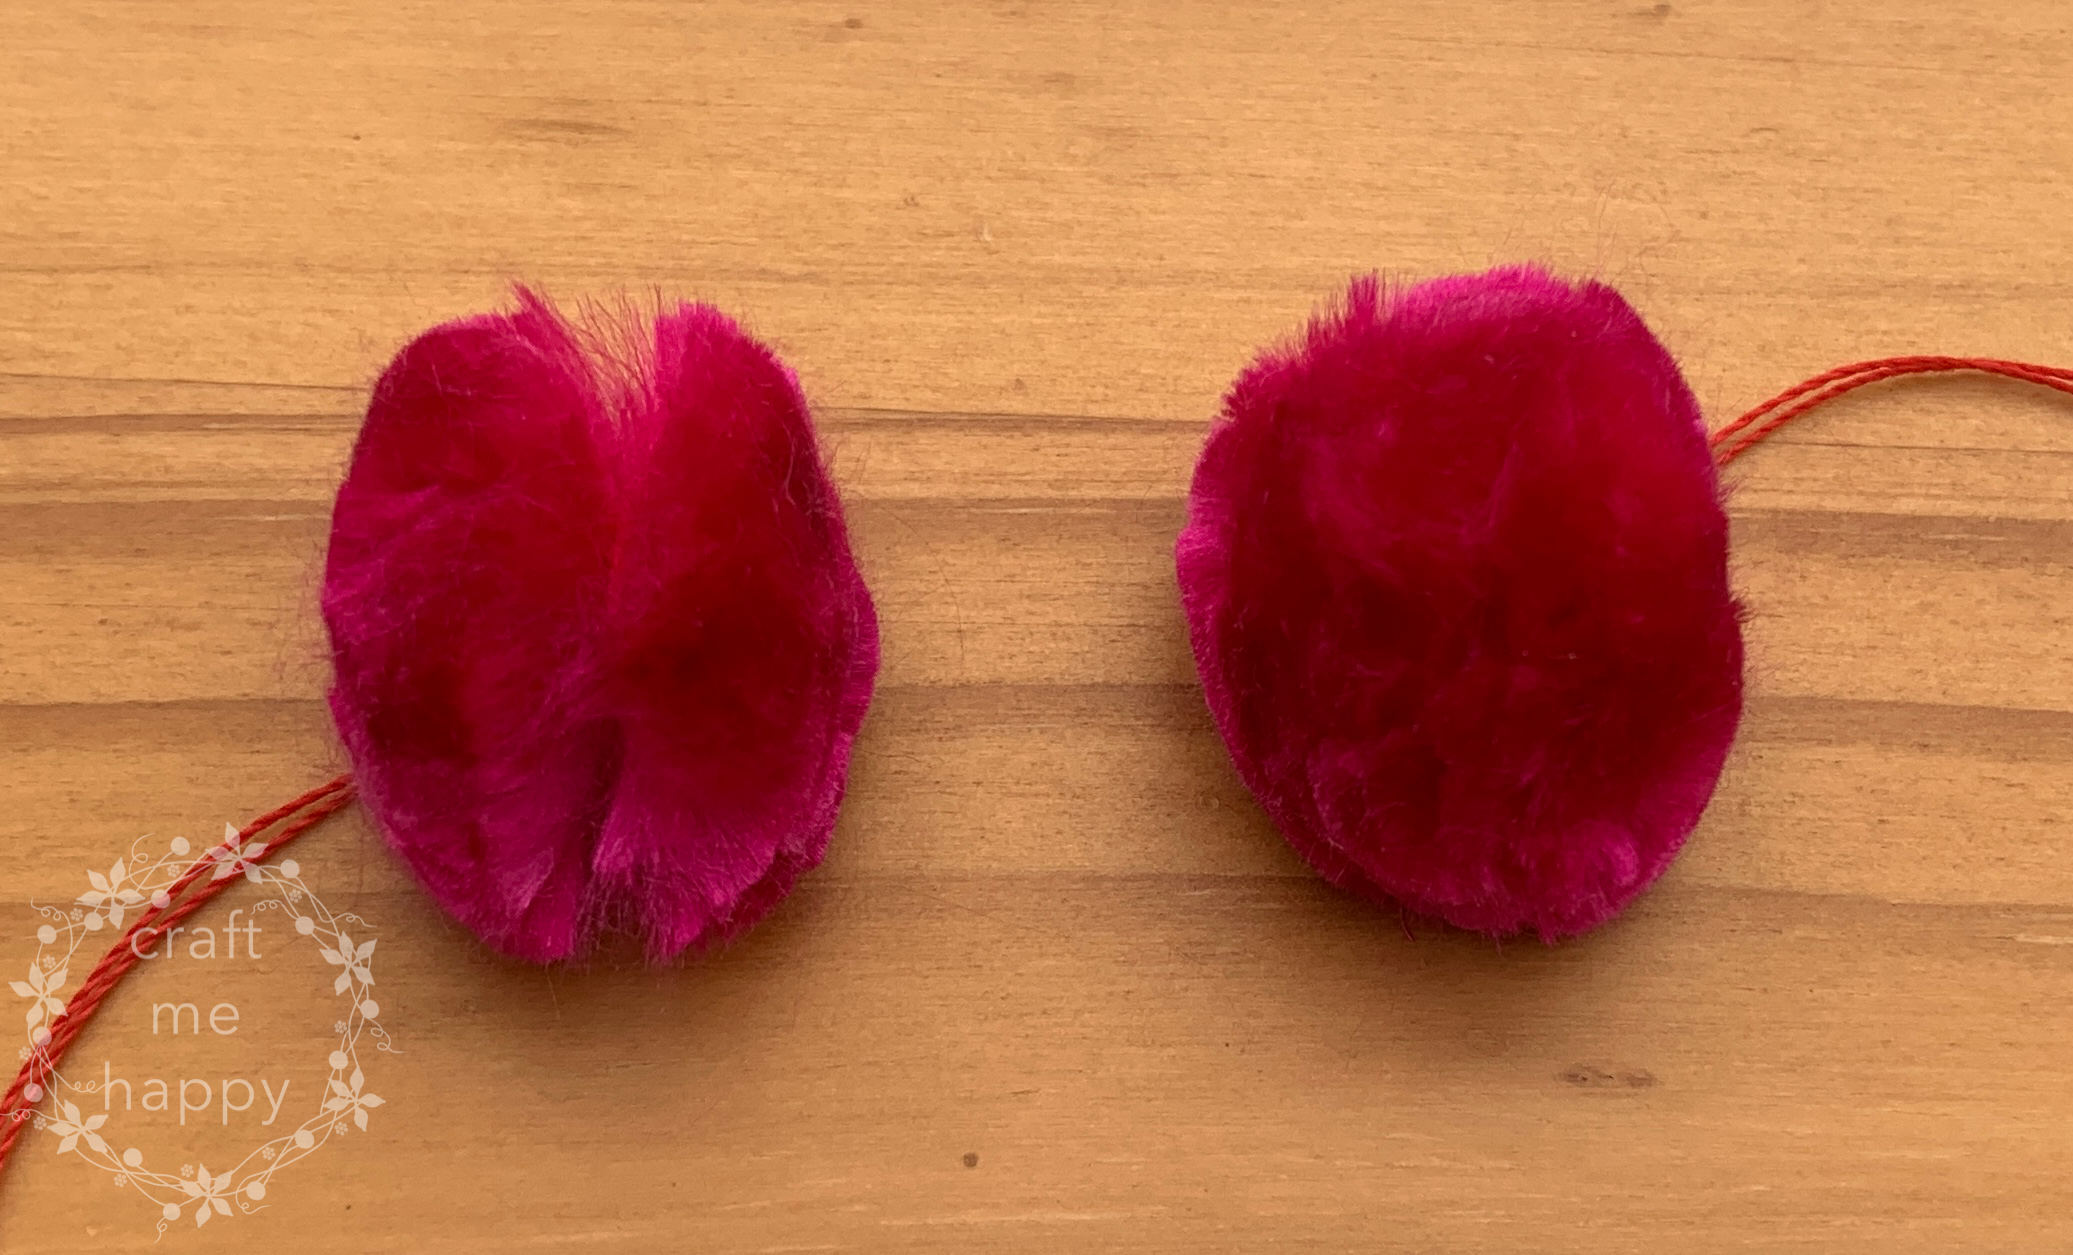
Here's a little before and after to show the difference steaming the pom pom can make. The fibres are really very bunched together in the unsteamed one and no matter how much I fluffed it, I couldn't get rid of the gaping channel around the middle.

I love the depth of colour you get from a silk top pom pom. They have an almost velvety quality! I may trim them a little more later to make them slightly rounder, but I don't think their slight wonkiness will matter too much when they're surrounded by a riot of colour on my joyful wreath.


----------
Please be sweet and share the love. Leave a comment, subscribe to my YouTube channel, like my Facebook page for regular updates or follow me on Pinterest, Bloglovin' or Instagram
No comments:
Post a Comment