


I’ve wanted to make a wreath, decorated with several different craft techniques, for a few years now. Since starting my blog, over 15 years ago, I’ve written tutorials on lots of different crafts, and I thought it would be a fun idea to revisit some of those projects, as well as introduce a few new ones, and incorporate them all into one, mad, crazy, joyful wreath. I suspect that there will be a strong bias towards knitting, but I’ll also be taking another look at cold porcelain flowers and probably some singed flowers too.
I will be celebrating a big birthday in December this year. As we always put our Christmas decorations up at around about that time, I thought it would be quite fitting (and more manageable) if I posted one wreath decoration a month, with a final reveal on my birthday.
I’ve long been a follower of the Attic 24 crochet blog, and I especially love Lucy’s heavily detailed, crochet Christmas wreath -
 |
| Photo copyright Attic 24 |
Do take a look at how she made it. It is just about the most joyful thing I’ve ever seen!
It brings to mind a Ted Talk by Ingrid Fetell Lee on Joyspotting, and the Aesthetics of Joy. In her wreaths, Lucy of Attic 24 uses many of the elements that Ingrid has observed make up a formula for the joyful aesthetic -
- Bright, saturated colours
- Elements from nature
- Circles and coils
- Busyness and an abundance of repeated motifs
- Weird or quirky details
- Objects that float, fly or can be seen in the sky eg. confetti, bubbles, birds, butterflies, rainbows, stars…
- A mixture of texture and scale.
It’s completely, and joyfully fabulous! I won’t be crocheting, but I’m going to take inspiration from both Attic 24, and Ingrid’s joyful aesthetic formula, to try to create something just as riotous and bonkers - but uniquely my own.
Curly Knitted Fur
The craft project that planted the seed in my brain for this whole thing came about by accident….
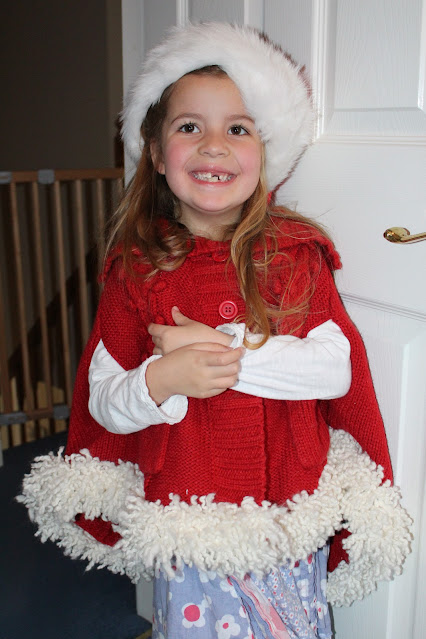
Back in 2013, I was knitting a strip of white fur to alter a poncho for my daughter to wear to school for Christmas Jumper Day when I had the idea for this wreath.
I do like to reuse and repurpose things when they come to the end of their natural life and so to make the fur trim, I pulled back a lambswool cardigan that no longer fitted M, to salvage the yarn.
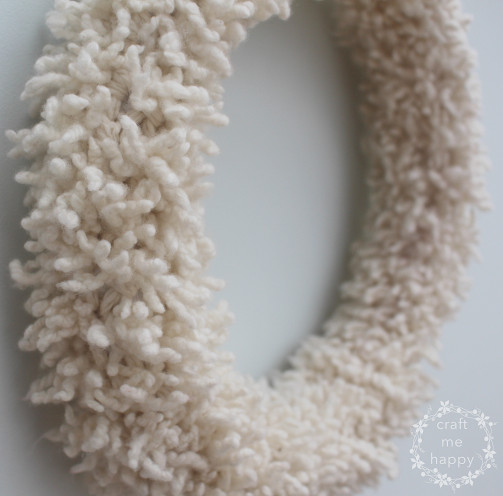
To save time, I held 4 strands together to knit the fur trim and didn’t bother removing the natural crimp of previously knitted yarn. Once I’d cut all of the loops, I realised that the multiple plies and crinkled yarn gave me the perfect wild and unruly base for a Christmas wreath base.
 |
| Back then, I just coiled the original fur trim around, and sat a bow on top to see how it looked |
I went on to sew it onto the poncho, but I promised myself that once M had grown out of it, I would reclaim the fur trim to make a wreath base - so here I am!
Here's the original video of me demonstrating how to knit the loop stitch.
If you want to try to attempt to recreate the fur trim with the intention of making this wreath, I would recommend holding 4 strands of double knit yarn together and working the loop stitch over 8 stitches on size 9mm needles.
The reverse side is just worked in knit stitch.

For the base of my wreath, I'm going to use a 31cm (about 12 inches) embroidery hoop. This was the remaining part of the embroidery hoop that was leftover when I knitted my Bohemian Wreath in 2020.
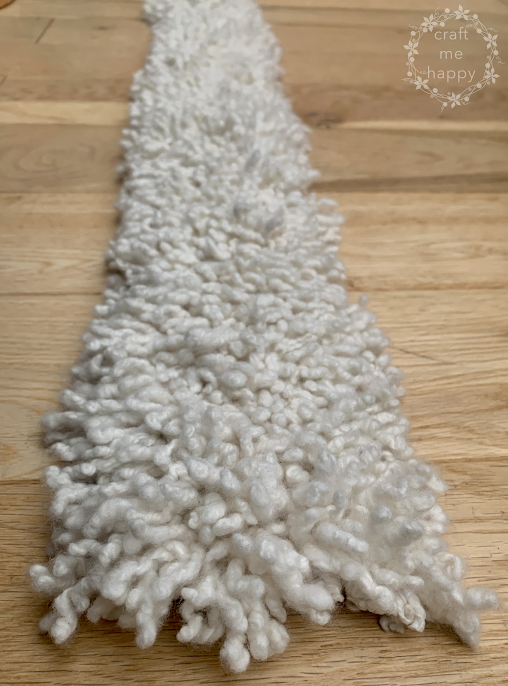
To get my fur trim to the right dimensions, I steeked* it at the halfway point and then cut it. I then hand sewed the two halves together side by side.
*I've never steeked anything before and so this was a good place to start. I sewed two rows of back-stitch on either side of the centre, making sure that I sewed through every stitch, and then carefully cut the knitting between the two rows of stitches.
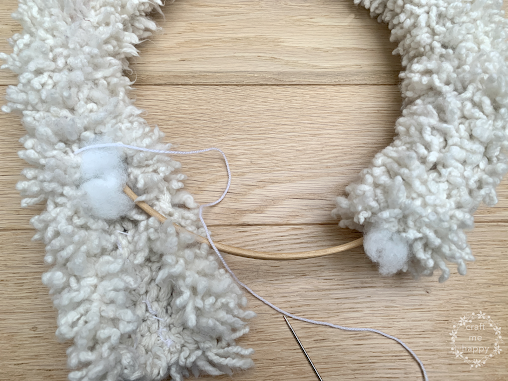
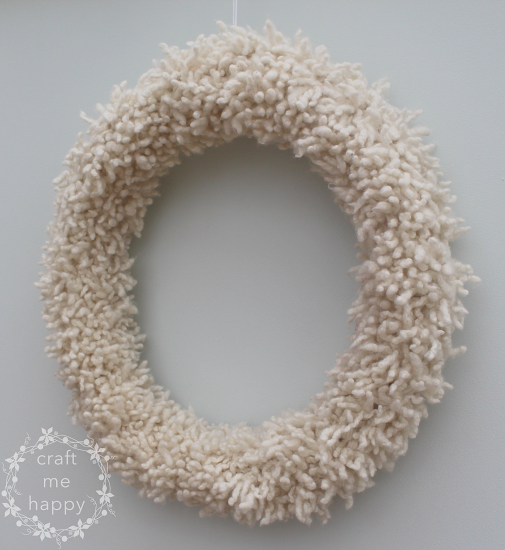
I then just used an overstitch to sew the fur strip around the embroidery hoop. Every 5 or 6 cm I inserted fibre-fill stuffing to give the wreath some body and fullness. I sewed the fur all the way around the embroidery hoop, alternating sewing and stuffing every minute or so.
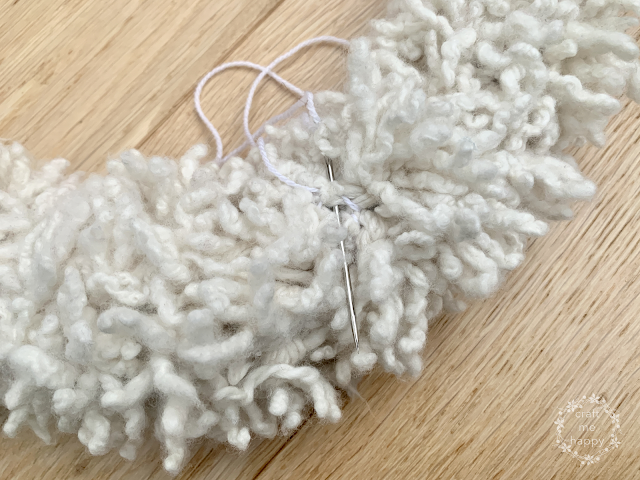
I had to stretch it slightly to get the two ends to meet. I then just sewed the ends together, all the way around.
Hopefully, I'll have an update on a decoration I've made for my Joyful Wreath by the end of April!
Full Disclosure - This post contains affiliate links to products similar to ones that I purchased myself. If you purchase via the links, I may receive a small percentage of the purchase price at no cost to you. Any income from my blog goes a small way towards funding future blog posts.
Some of my other related blog posts -

 |
| How to Knit Curlicues or Spirals |
 |
| Easy Layered Needle Felted Flowers |
 |
| Needle Felted Balls or Beads |
 |
| Rainbow Decoration Knitting Pattern |
 |
| Making Silk Top Pom Poms on the Multipom |
 |
| Making Layered Singed Flowers |


 |
| Virtually No-Sew Knitted Hearts |
 |
| Bohemian Wreath Knitting Instructions |


----------
Please be sweet and share the love. Leave a comment, subscribe to my YouTube channel, like my Facebook page for regular updates or follow me on Pinterest, Bloglovin' or Instagram
1 comment:
I love that idea and am looking forward to follow this project. I had no idea you could knit fur! Looks time consuming but not diffcult.
Post a Comment